Mail plugin
Plugin for sending emails.
Plugin configuration
After installing the plugin, you just need to activate it. This plugin has no particular configuration :
Equipment configuration
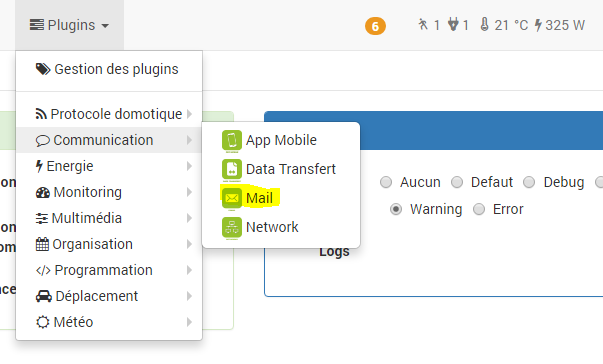
The configuration of Mail equipment is accessible from the plugin menu :
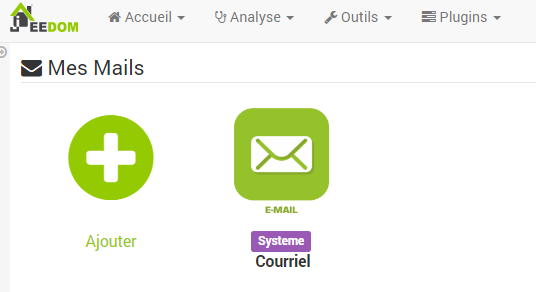
This is what the Mail plugin page looks like (here with 1 email already, you can add as many as you want with the “Add”) :
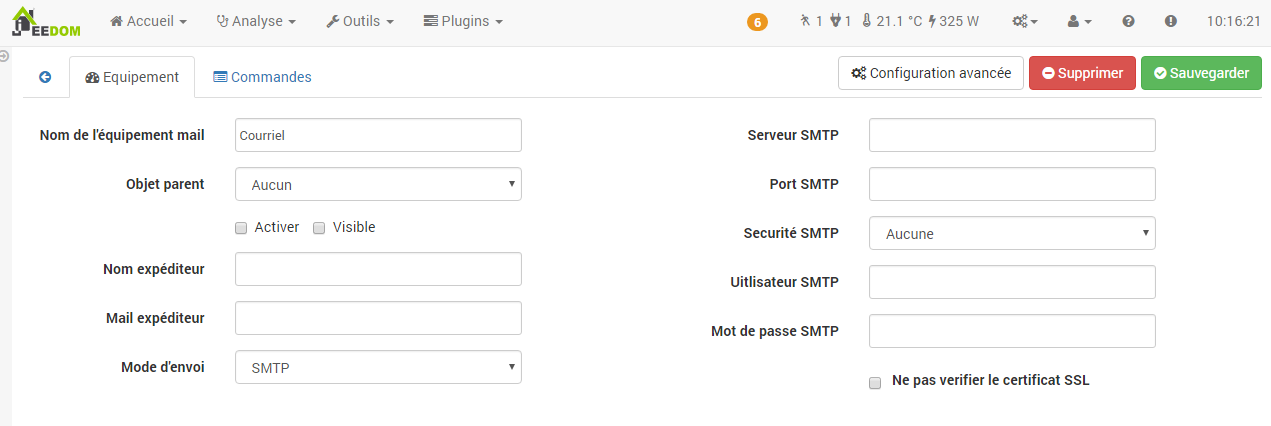
Once you click on one of them, you get :
Here you find all the configuration of your equipment :
- Email device name : name of your equipment mail
- Parent object : indicates the parent object to which the equipment belongs
- Activate : makes your equipment active
- Visible : makes your equipment visible on the dashboard
- Sender name : name of the sender of the email (ex : Jeedom)
- Sender email : sender’s email (ex : jeedom@moi.fr)
- Send mode : method of sending the email :
- Jeedom cloud : no configuration to do, sending of emails by the Jeedom Cloud service, in beta phase for the moment, limited to 5 emails per day
- SMTP : most common method for sending emails
- Sendmail
- Qmail
- Mail()[PHP Function ] : use the standard send function of PHP, window = “_ blank”, requires configuring the operating system
Apart from the SMTP option, the other options require the configuration of the OS (Linux) to be able to function. In other words, basically only the SMTP function works, the others are reserved for experts who can, if they wish, configure these options themselves.
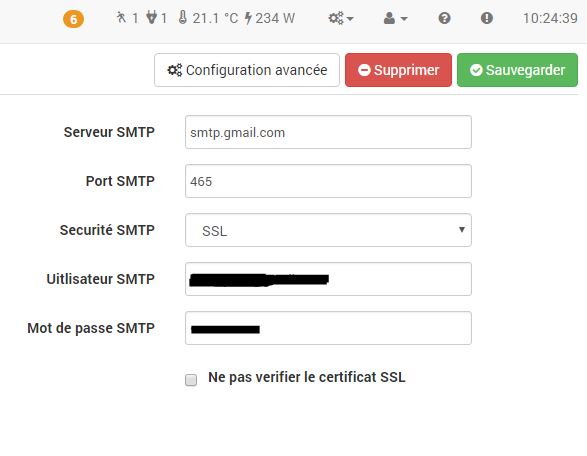
The SMTP configuration tab allows you to enter information about the email server you want to use.

Here are some examples for the main email service providers :
- Gmail
- SMTP server : smtp.gmail.com
- SMTP port : 587
- SMTP security : TLS
- Hotmail
- SMTP server : smtp.live.com
- SMTP port : 587
- SMTP security : TLS
- iCloud
- SMTP server : smtp.me.com
- SMTP port : 25
- Yahoo.com
- SMTP server : smtp.mail.yahoo.com
- SMTP port : 465
- SMTP security : SSL
Les champs « Utilisateur SMTP » et « Mot de passe SMTP » correspondent aux identifiants de votre compte E-mail.
From the “Orders” tab, you can add orders that correspond to the email addresses to which you wish to be able to send emails with Jeedom :

- Name : Name of the order
- E-mail : the email address to send the message to. You can put several by separating them with ,
- Advanced configuration (small notched wheels) : used to display the advanced configuration of the command (historization method, widget, etc.)
- Test : Used to test the command,
- Delete (sign -) : allows to delete the command.
This plugin works like a module, that is to say that once saved, it appears in the list of actions or commands. It is thus very simple to use it when creating scenarios for example.
In a scenario, once selected in an action, you will have to enter the title and the message.

Important
If you are in double authentication with Gmail you must give a specific password for the application : My account ⇒ login and security ⇒ Log in to Google ⇒ Application passwords, if this is not the case you must enter your usual gmail password.
Tip
HTML format is supported by the scenario editor for the body of messages.
Tip
Remember to save all changes.


