Installed VMware on NUC
Here’s a tutorial on how to install VMware on an Intel NUC (Gen 6). Next, we’ll see how to add Jeedom to it
Hardware
Intel NUC
The Intel NUC is a small PC—not the most powerful, but very energy-efficient and compact. This makes it a perfect little VMware-based virtualization server.
There are currently two 6th-generation NUCs (the others also work with VMware but require additional drivers to be installed on the VMware kernel):
- Intel Core i3-6100U (Dual-Core 2.3 GHz - - 4 threads - 3 MB cache - 15W TDP)
- Intel Core i5-6260U (Dual-Core 1.8 GHz - Turbo 2.9 GHz - 4 threads - 4 MB cache)
The i5 is significantly more powerful because it has a little more cache and, most importantly, a turbo mode that allows it to run at much higher clock speeds.
In addition, there are two types of control units:
- A slim enclosure that can hold only one type M.2 drive
- A thicker case capable of holding an M.2 drive of type M and a 2.5-inch drive
That makes a total of 4 items:
- i3 M2: Intel NUC NUC6I3SYK ~ 320€
- i3 M2 + 2.5-inch: Intel NUC NUC6I3SYH ~ 320€
- i5 M2: Intel NUC NUC6I5SYK ~ 460€
- i5 M2 + 2.5-inch: Intel NUC NUC6I5SYH ~ 430€
SSD
You’ll also need to add an SSD and memory. For the SSD, I recommend 240 GB or more, unless you choose a model with a 2.5-inch drive bay (which lets you add an additional hard drive) or use a Synology-type NAS to set up an iSCSI LUN. Don’t forget that a basic VM (without storage) takes up between 20 and 40 GB; add 40 GB for VMware itself, and it fills up quickly.
Important
VMware does not support adding USB drives, so it is difficult to expand the available storage space
- LDLC M.2 2280 F6 PLUS 120 GB SSD ~ 55€
- Samsung SSD 850 EVO 120 GB M.2 ~ 100€
- LDLC M.2 2280 F6 PLUS 240 GB SSD ~ 105€
- Samsung SSD 850 EVO 250 GB M.2 ~ 120€
- LDLC M.2 2280 F6 PLUS SSD, 480 GB ~ 190€
Memory
Note: For memory, you absolutely must use DDR4 in 260-pin SO-DIMM form factor. You need at least 4 GB for VMware, but based on my experience, I recommend at least 8 GB (personally, I’ve even gone up to 16 GB; the NUC supports a maximum of 32 GB). In this case, there’s no specific memory recommendation—the cheapest option works just fine (note that I always buy packs of two modules, as this improves performance):
- Crucial DDR4 SO-DIMM 8 GB (2 x 4 GB) 2133 MHz CL15 SR X8 ~ 35€
- Crucial DDR4 SO-DIMM 16 GB (2 x 8 GB) 2133 MHz CL15 DR X8 ~ 65€
- Crucial DDR4 SO-DIMM 32 GB (2 x 16 GB) 2133 MHz CL15 DR X8 ~ 120€
Preparing for Installation
Before starting the actual installation, you’ll first need to download VMware and copy it to a USB flash drive.
VMware Download
Important
If you install VMware 6.5, there’s an issue with the new USB management and Z-Wave dongles; to make it work, you need to apply this KB. Please note that this procedure is no longer necessary in VMware 6.7
I actually think this is the hardest part. To make your life easier, you need to:
- go to here and sign up
- Wait for the email to confirm your registration
- Back here and log in (you may be asked to accept the terms and conditions; be sure to confirm)
- then go there and add “ESXi ISO image (Includes VMware Tools)” to your account
- finally return here and there, under “Download Packages,” you should see a package called “ESXi ISO image (Includes VMware Tools)” that you need to download
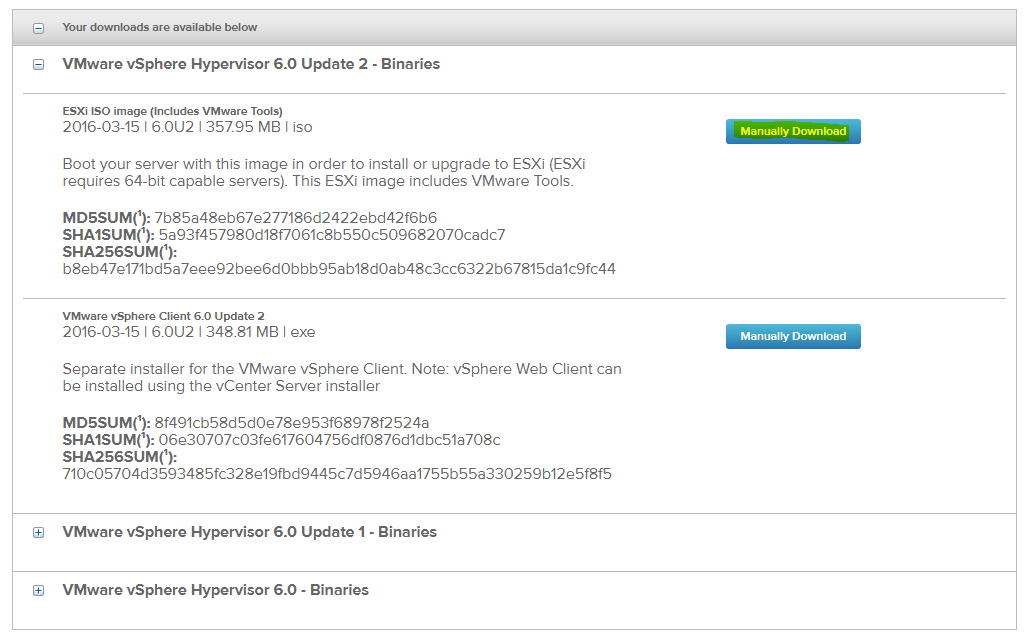
Right above that, you’ll also find your license key—you might as well grab it while you’re there.
Download Rufus
This is much simpler—just click the. Next, you need to run the .exe file
Creating a bootable USB drive
This is easy, too—here’s how to set up Rufus:
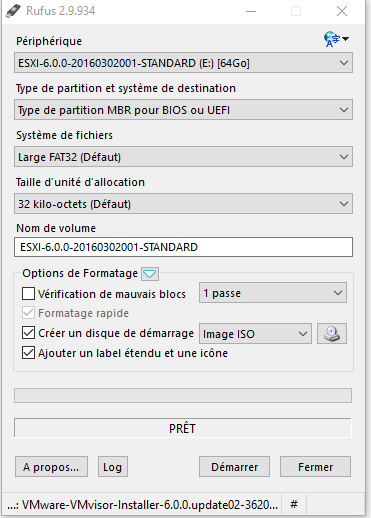
All you have to do is click “Start” and wait.
Unboxing and Assembling the NUC
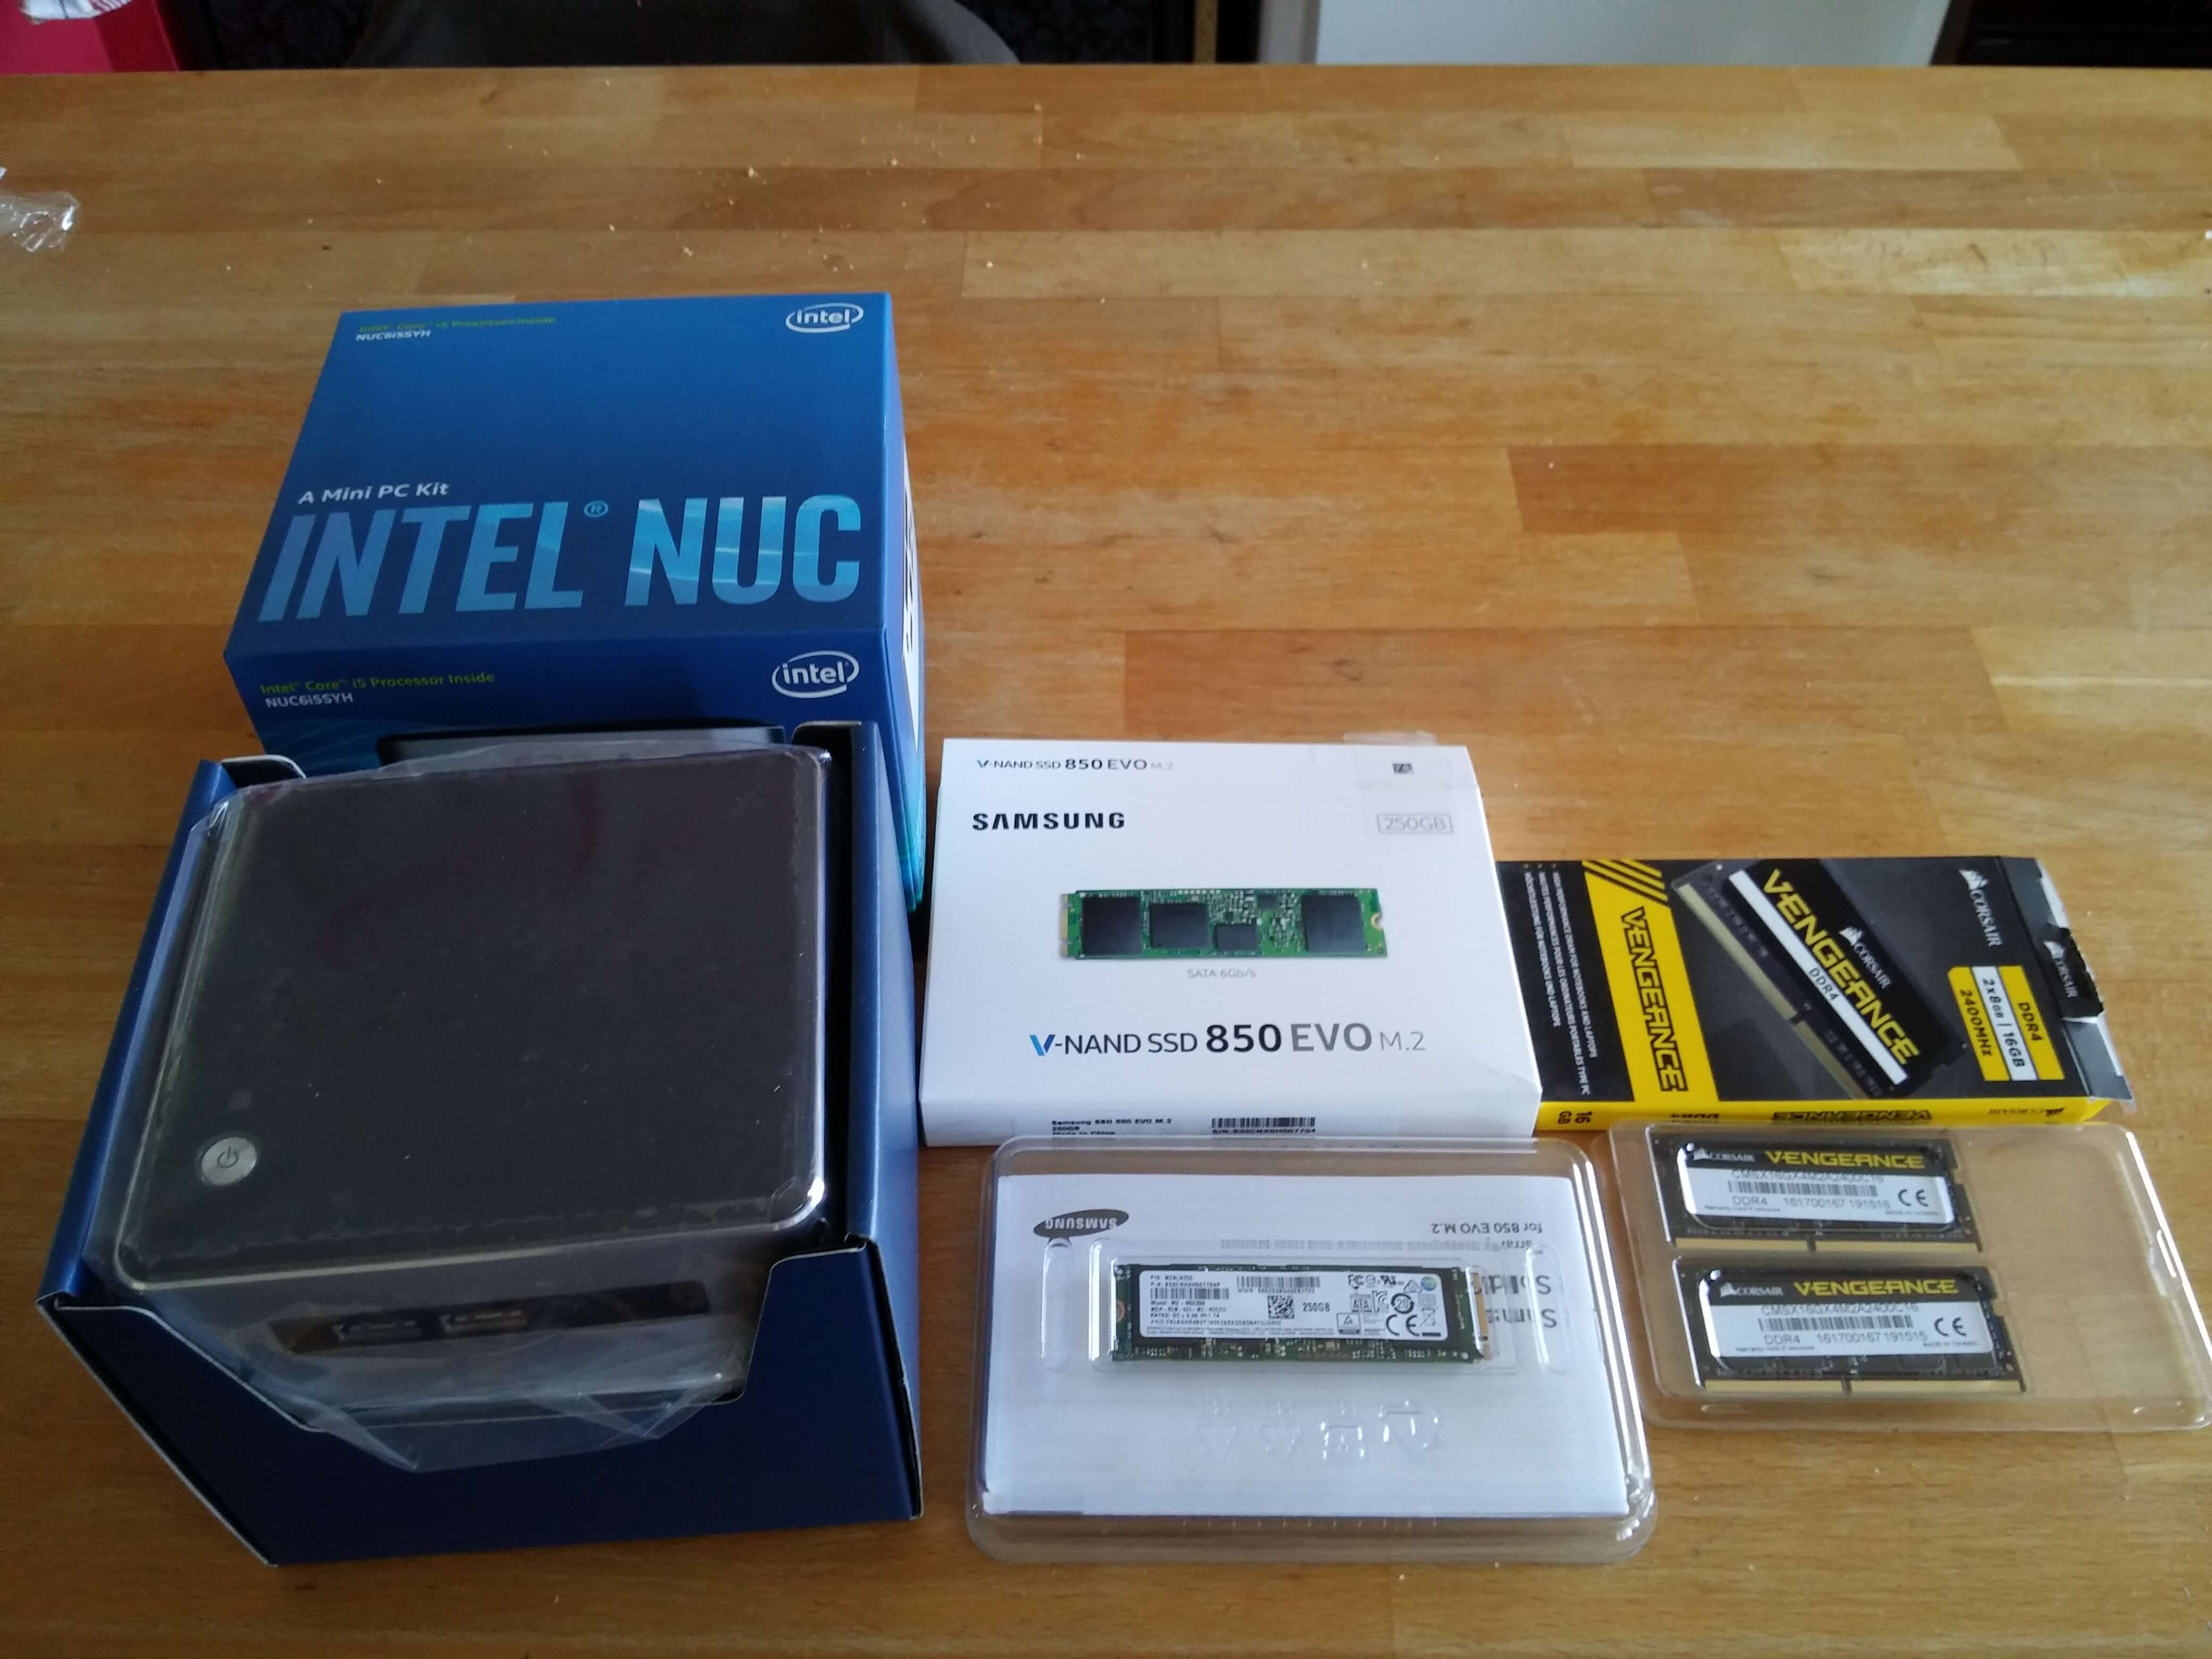
Here are the three components for my NUC:
- Intel NUC NUC6I5SYH
- Samsung SSD 850 EVO 250 GB M.2
- CORSAIR VENGEANCE DDR4 SO-DIMM 16 GB (2 x 8 GB) 2400 MHz CL16
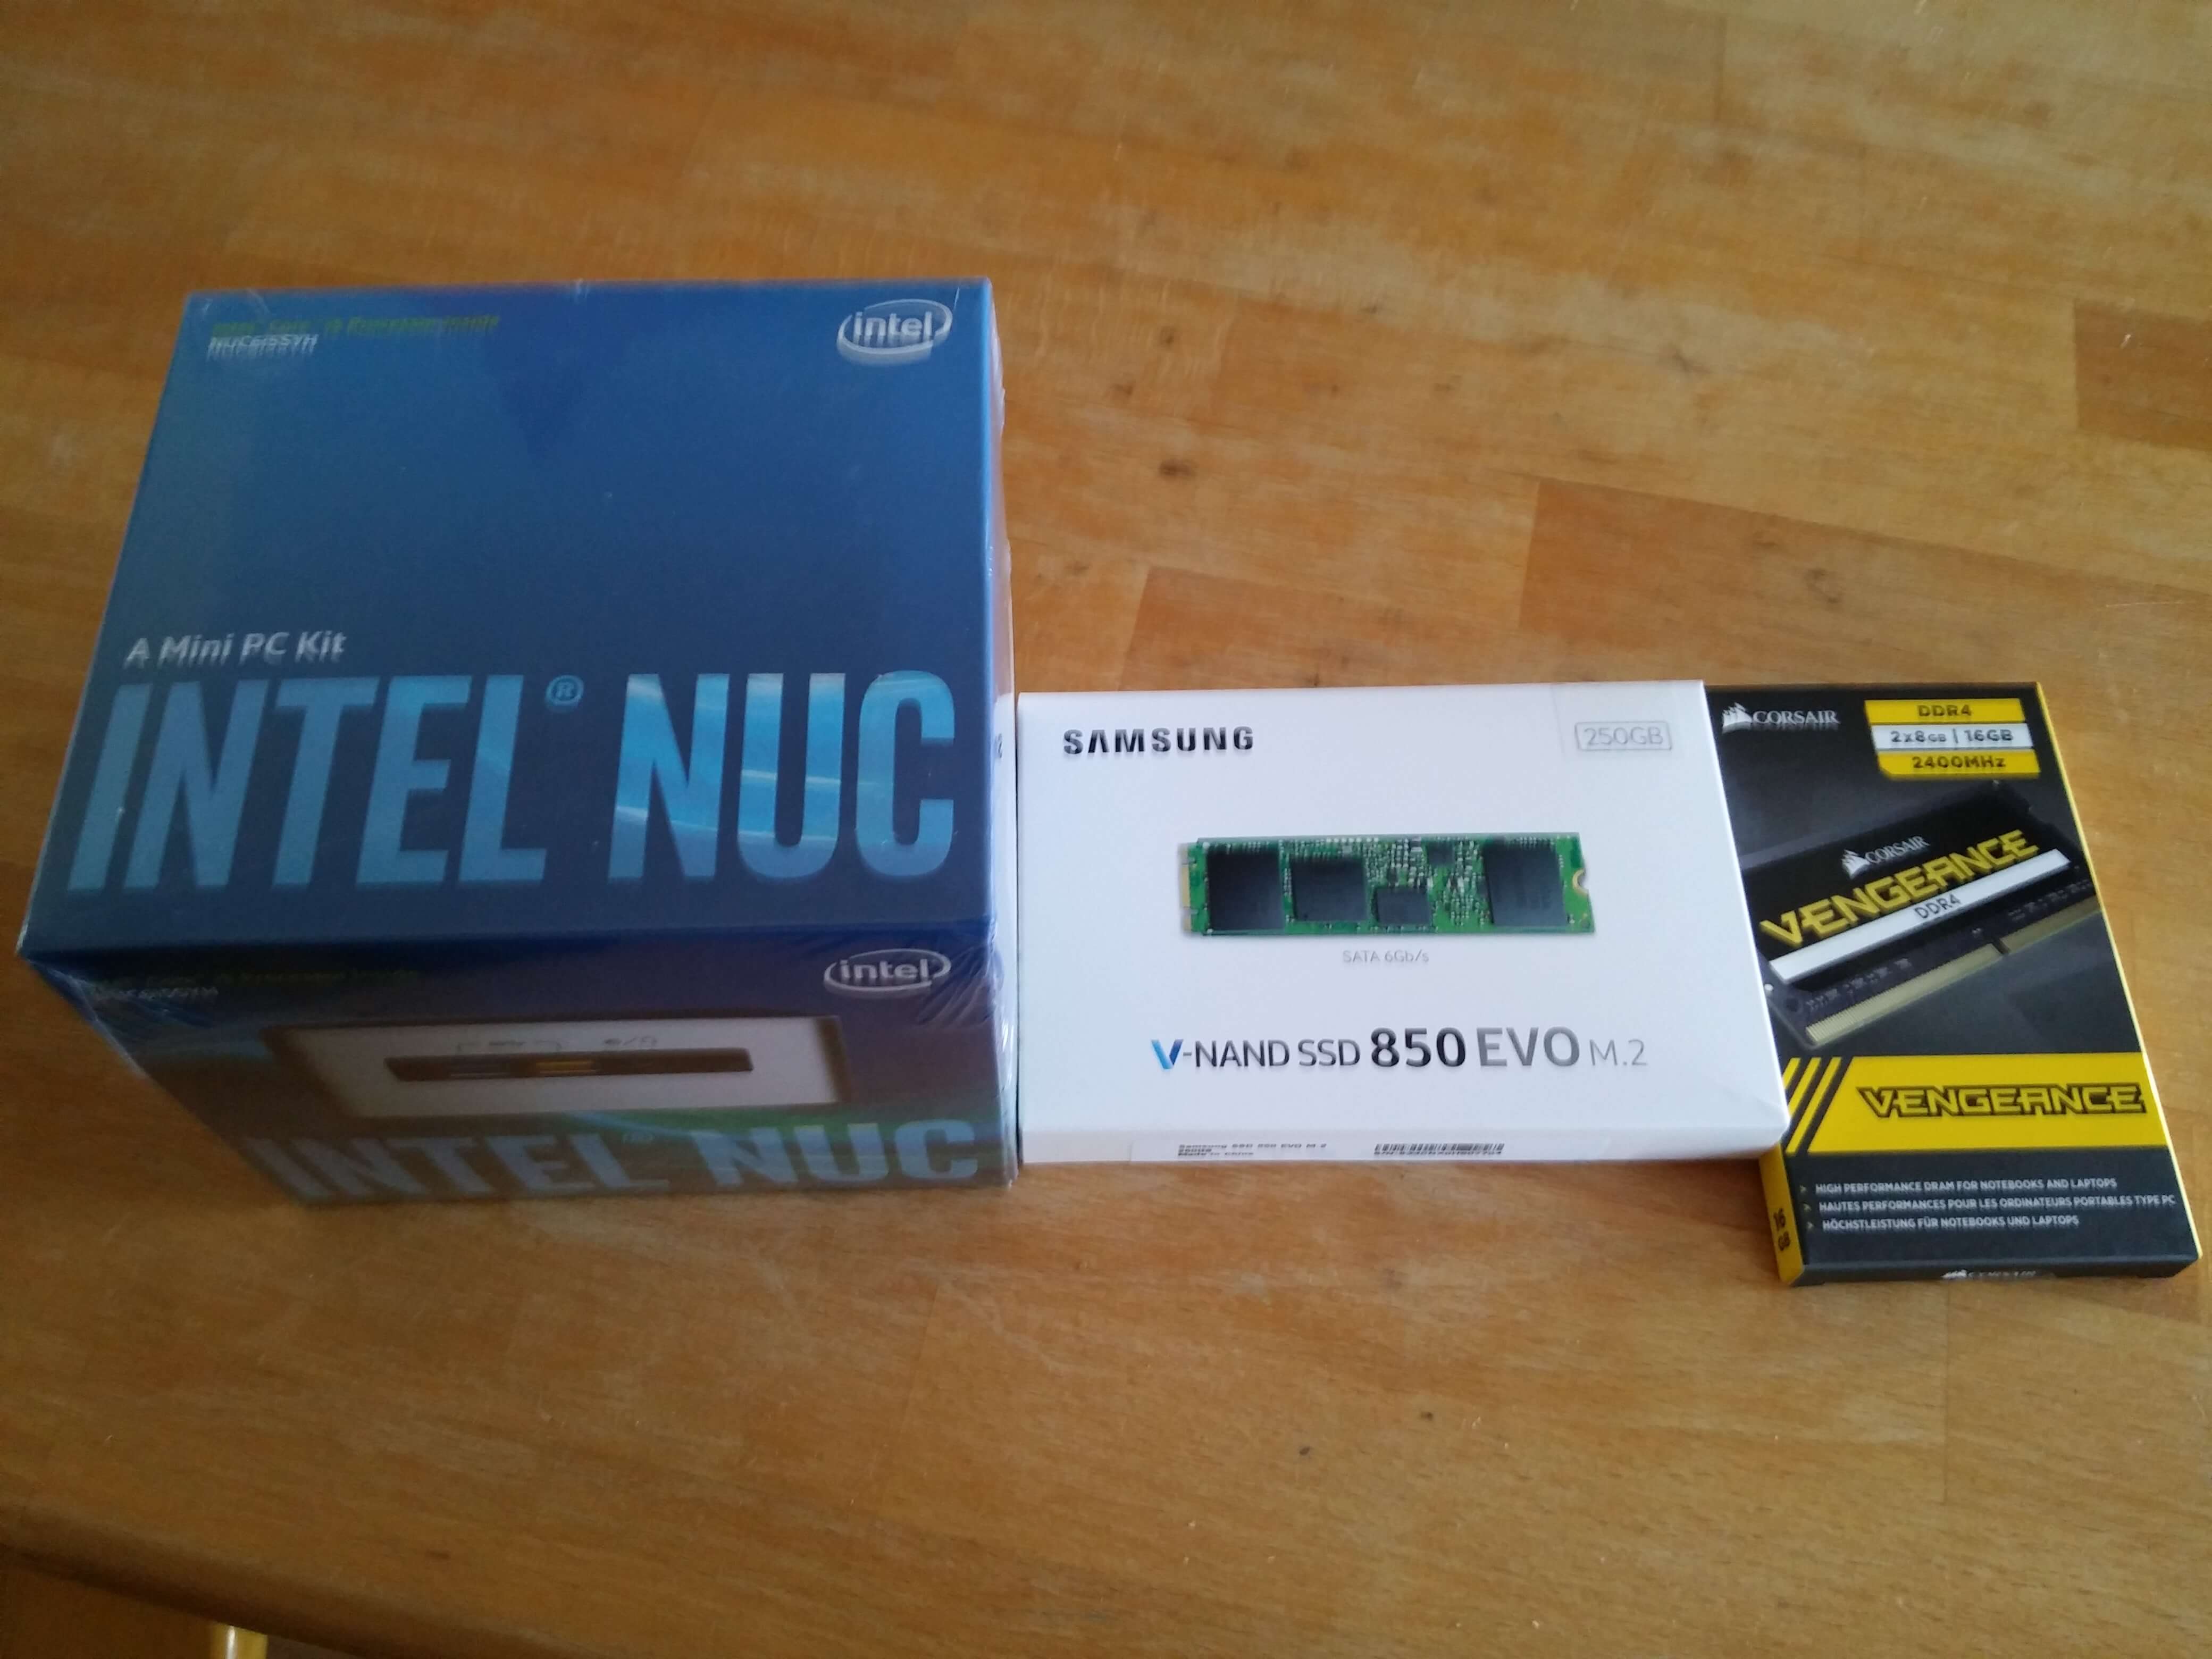
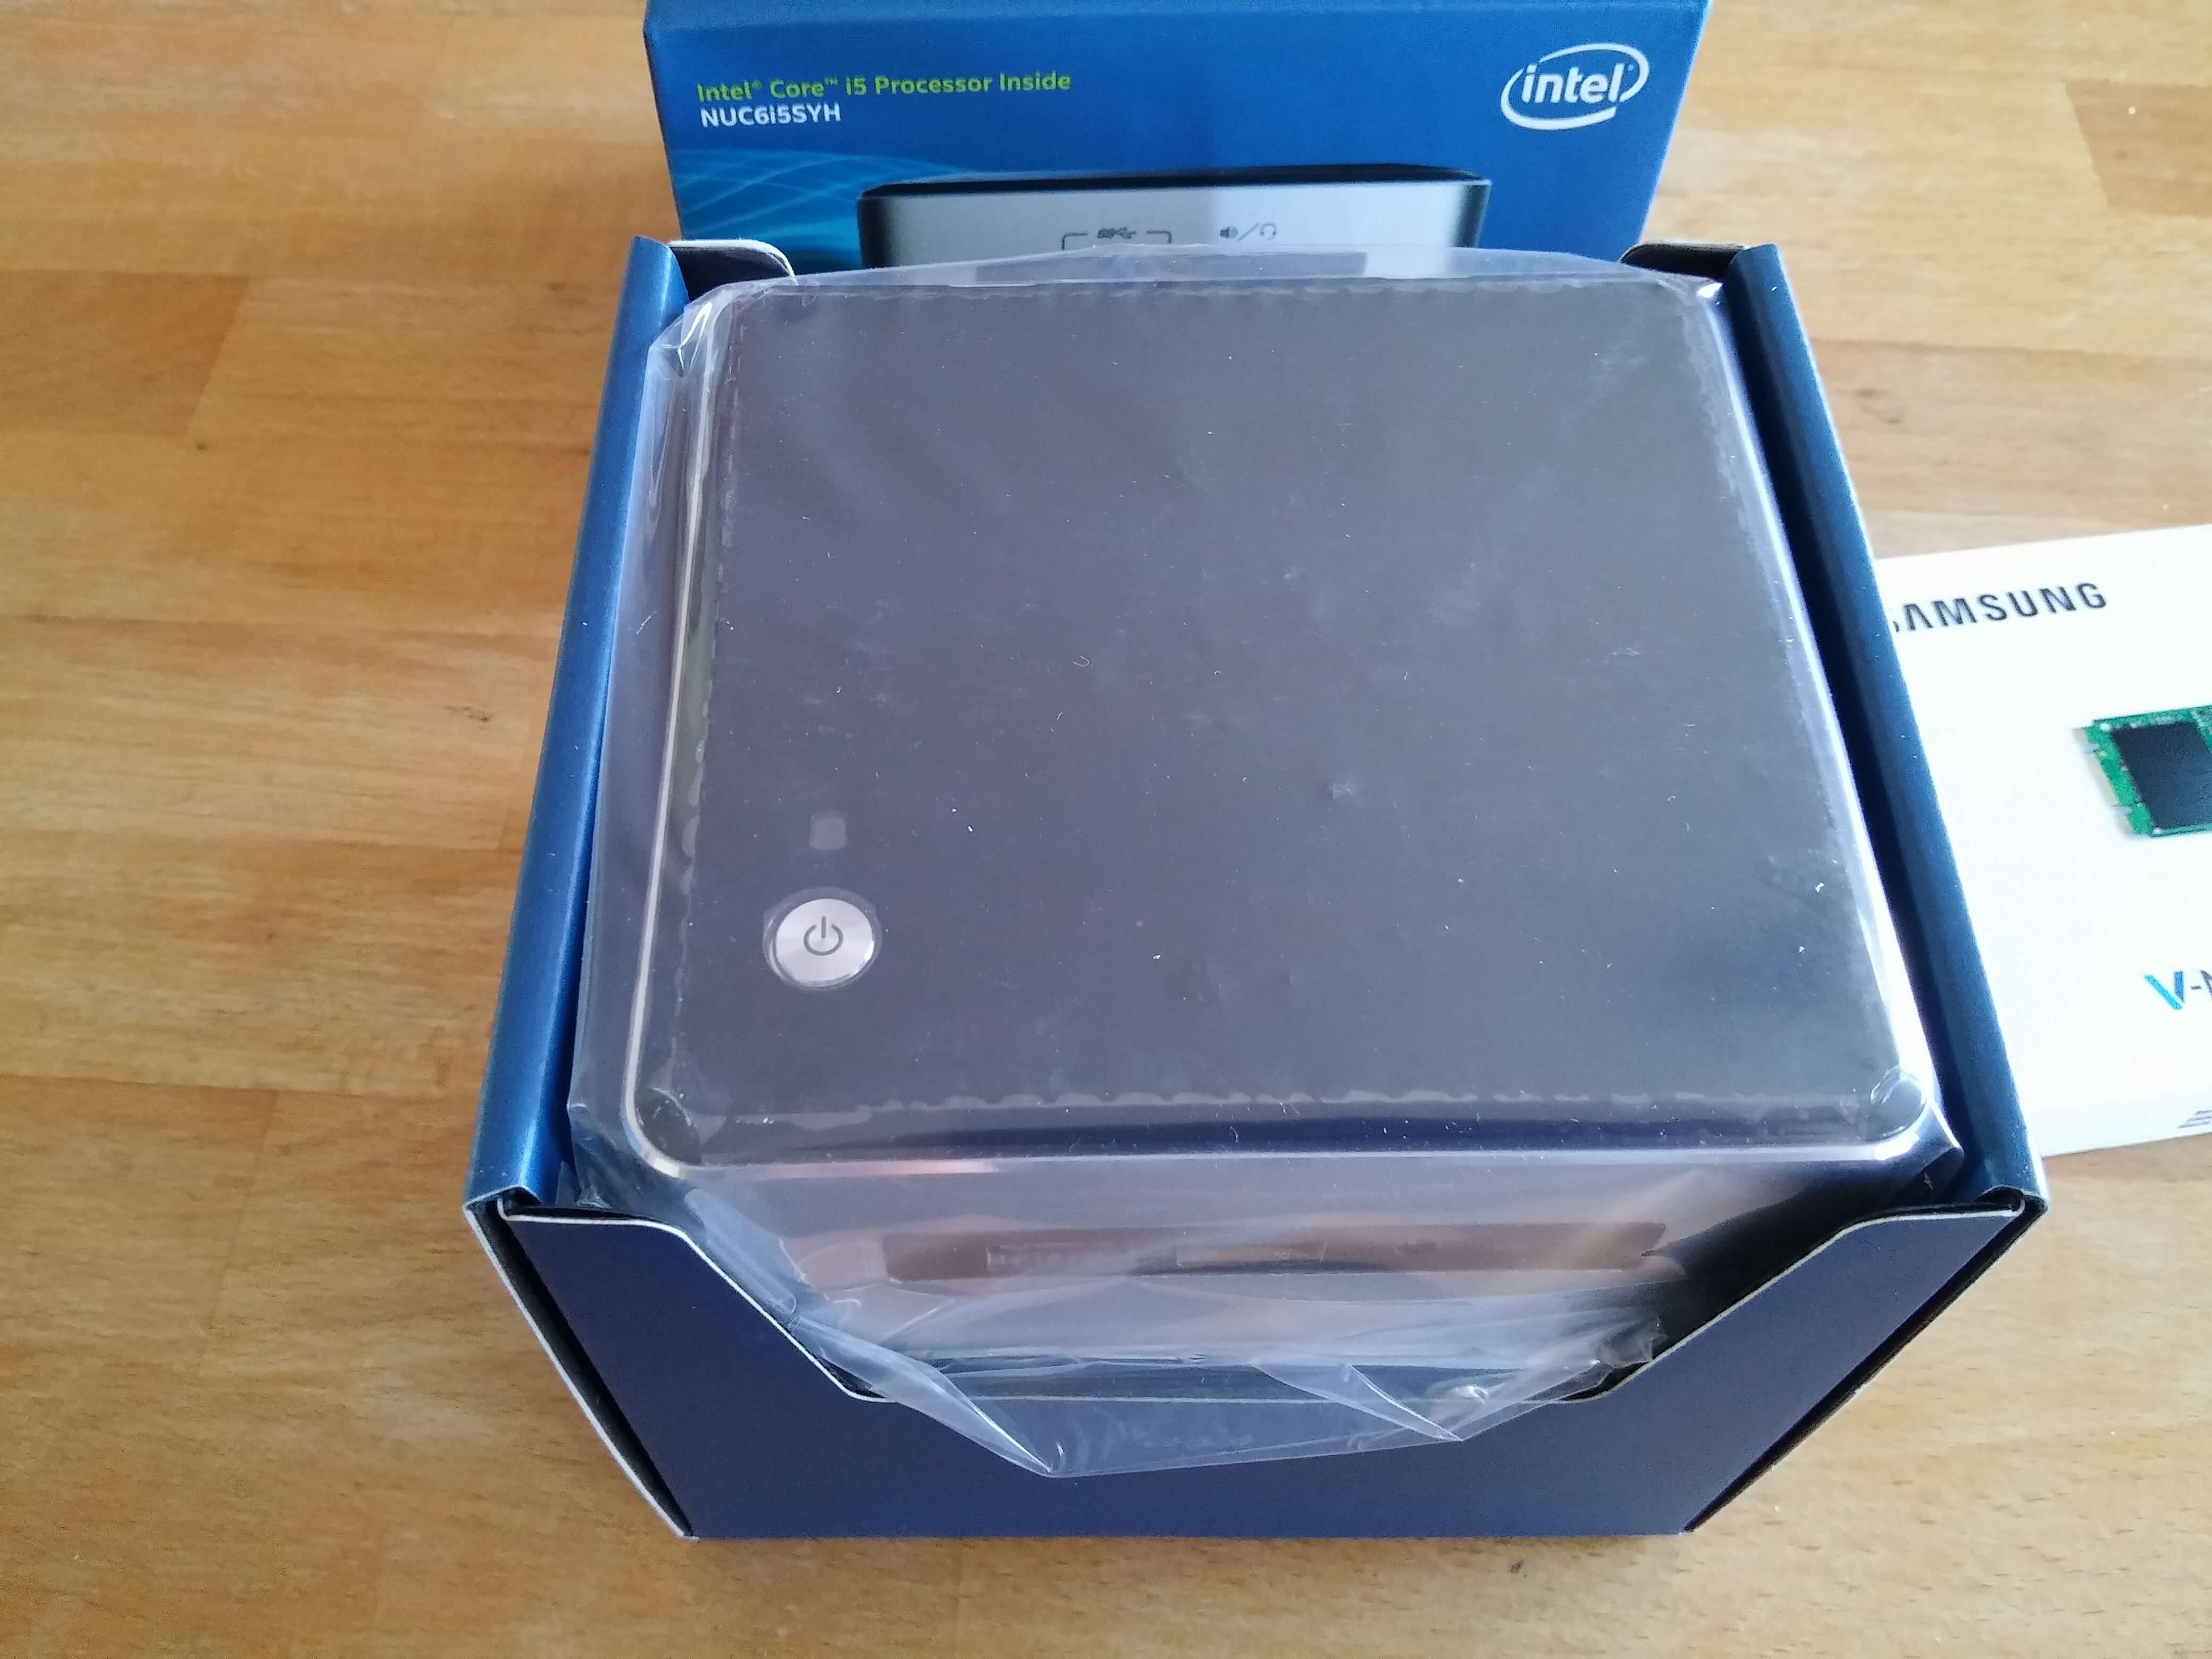
The NUC box:
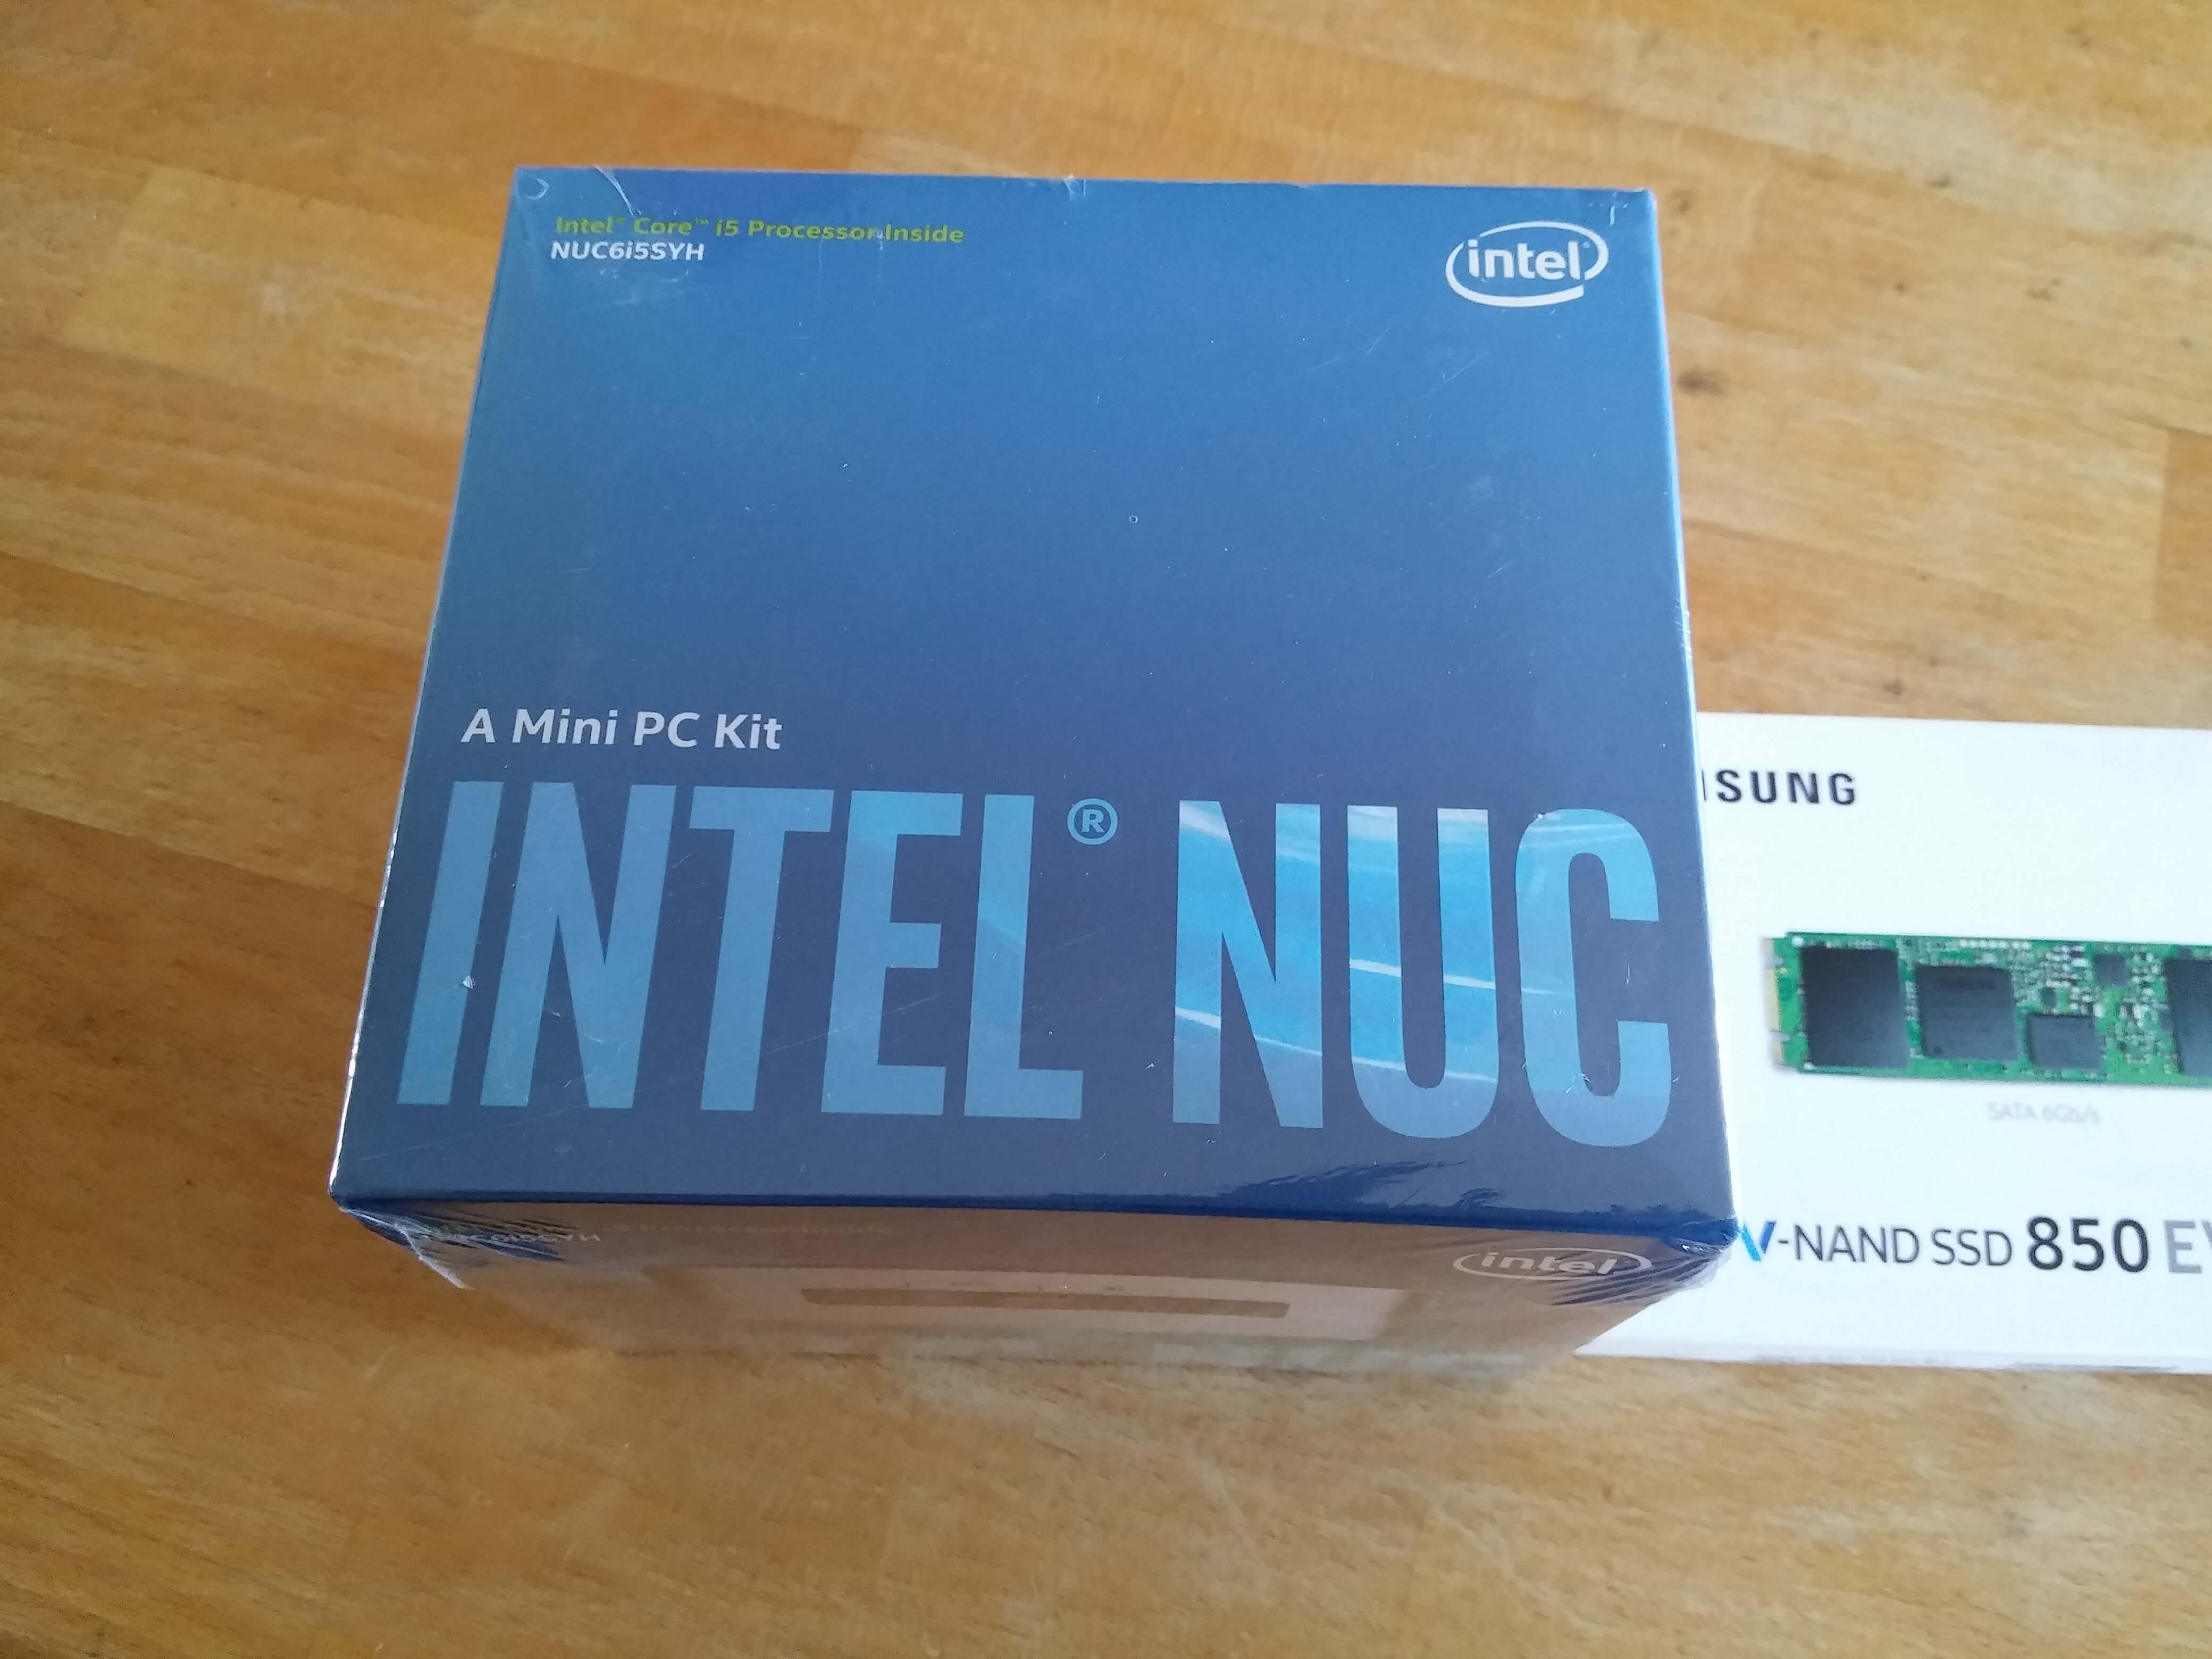
To open it:
Components taken out of their boxes:
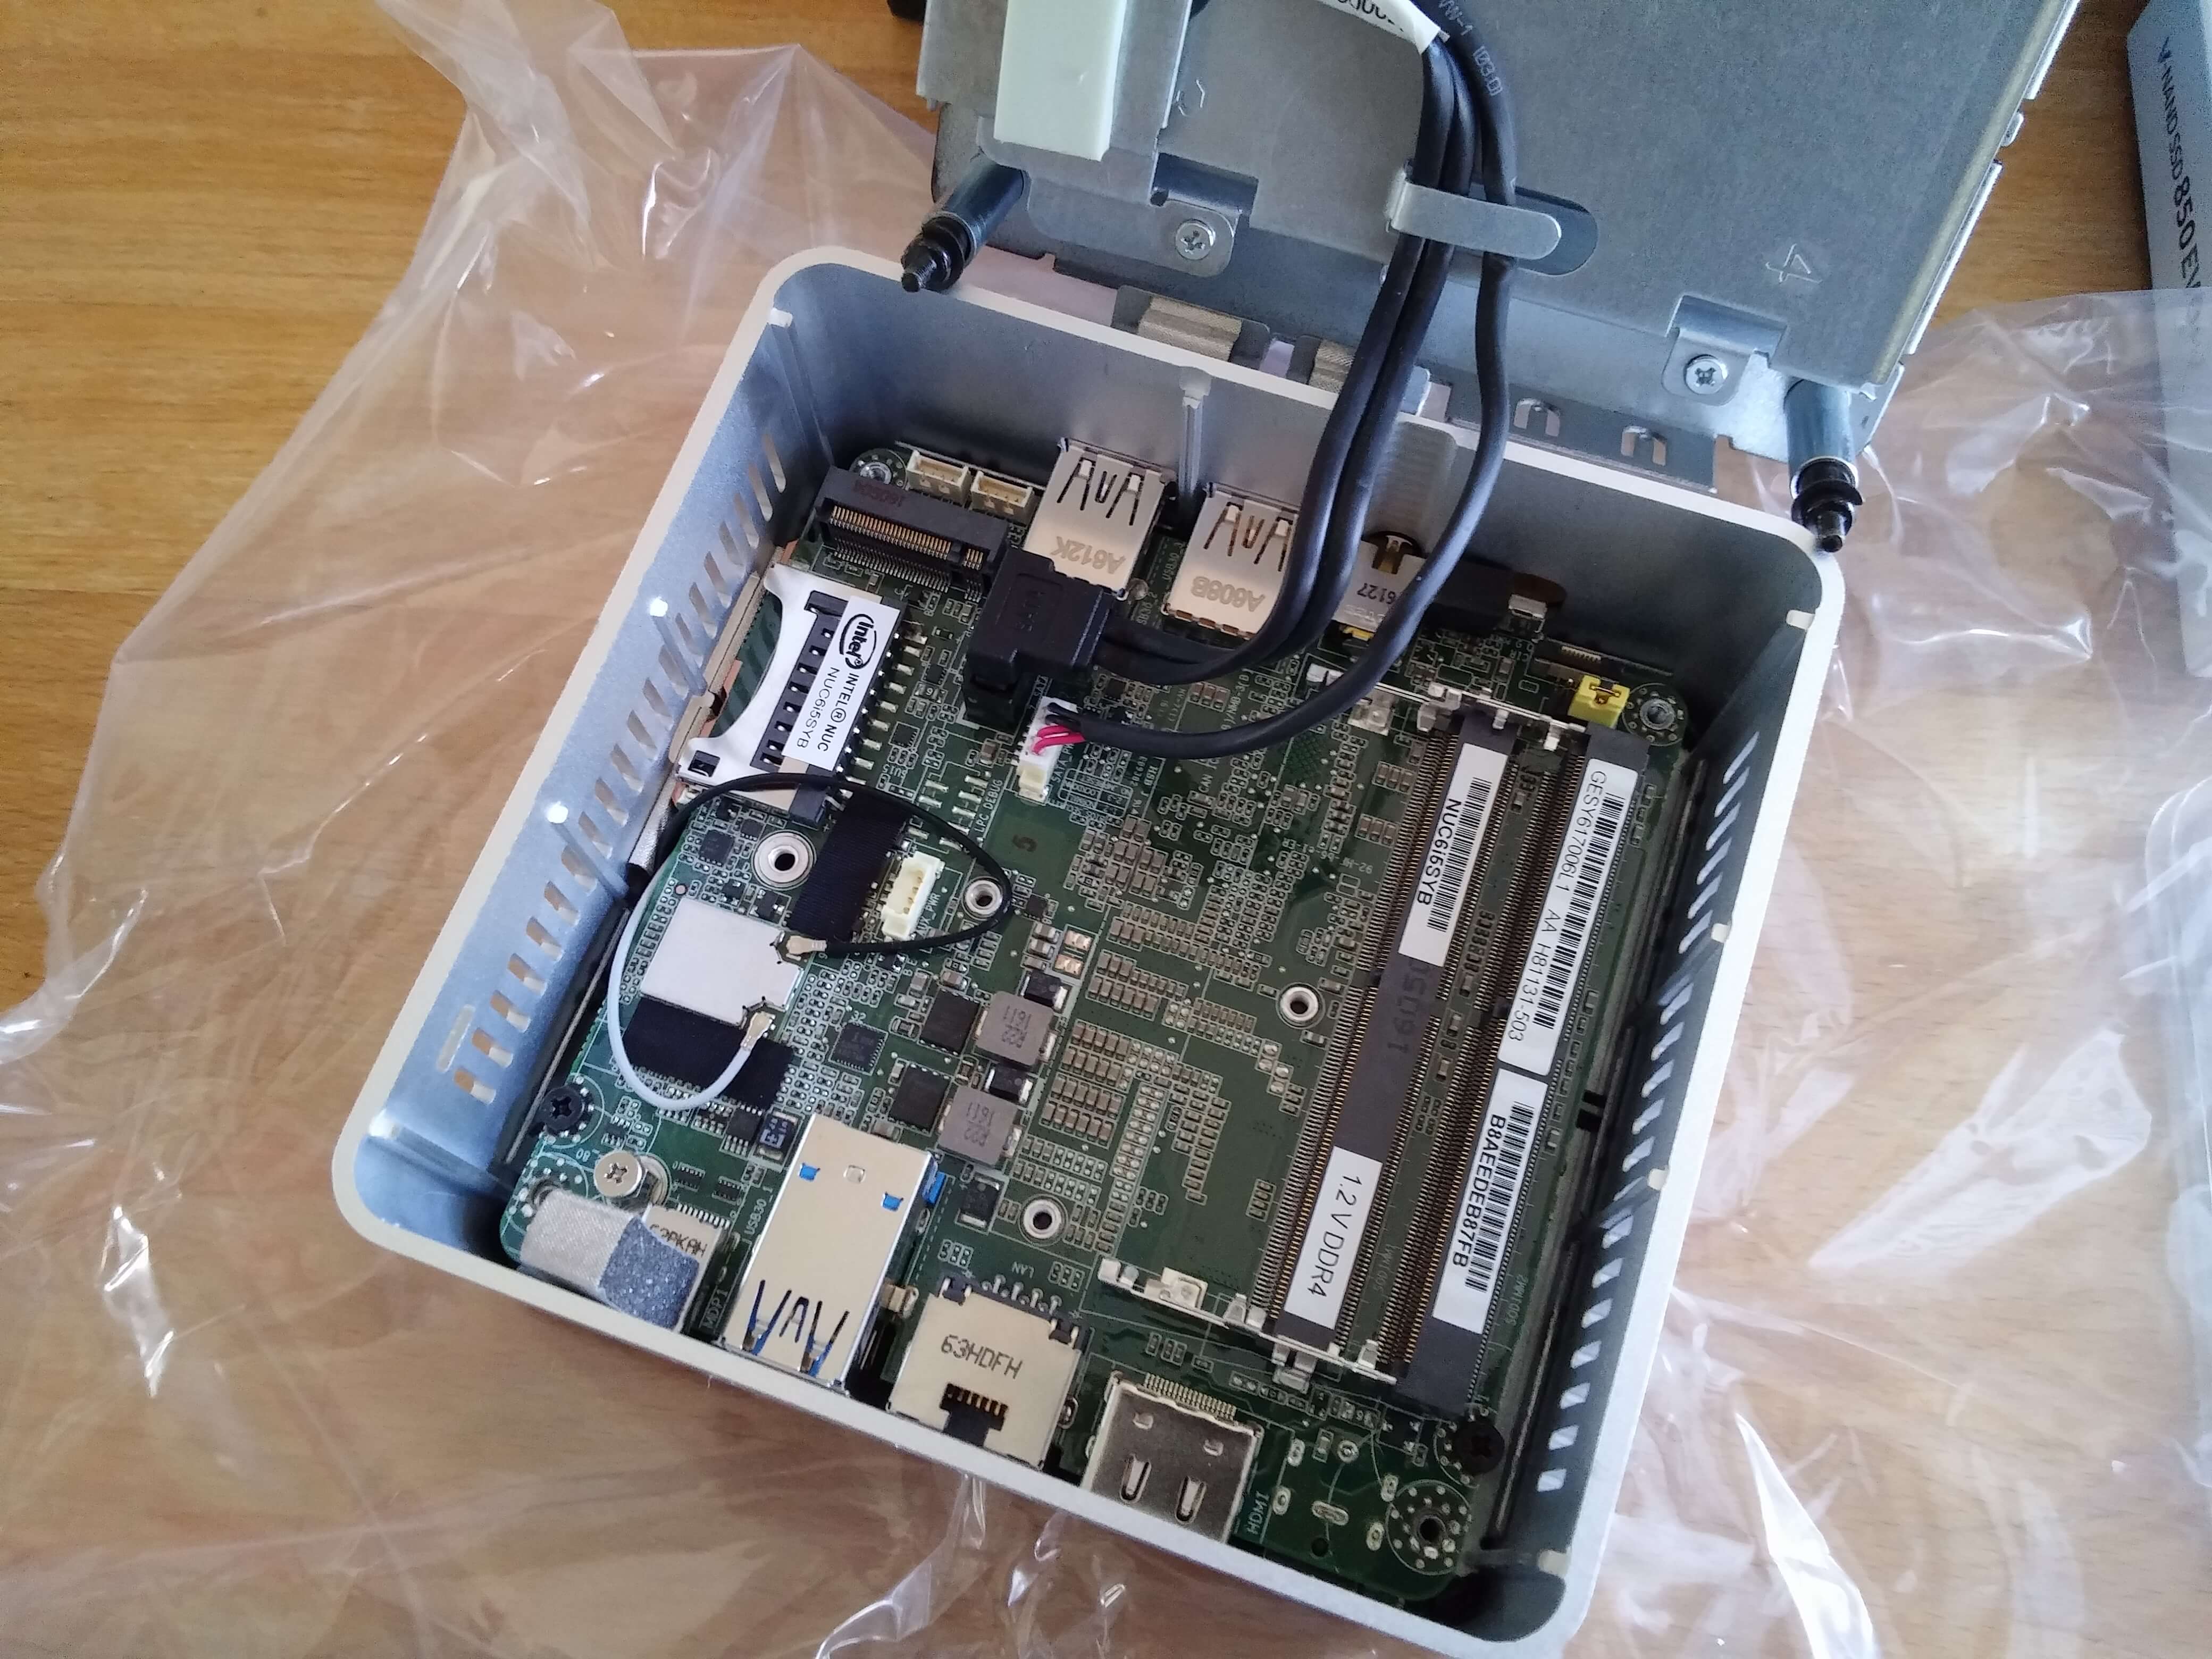
Opening the NUC is very simple: turn it upside down, unscrew the four screws under the feet (they won’t come out completely—that’s normal; you just need to unscrew them), then pull slightly on the screws to open the NUC:
With the SSD installed (on the left), the screw at the end to secure it is a bit of a hassle to put back in—luckily, you only have to do this once
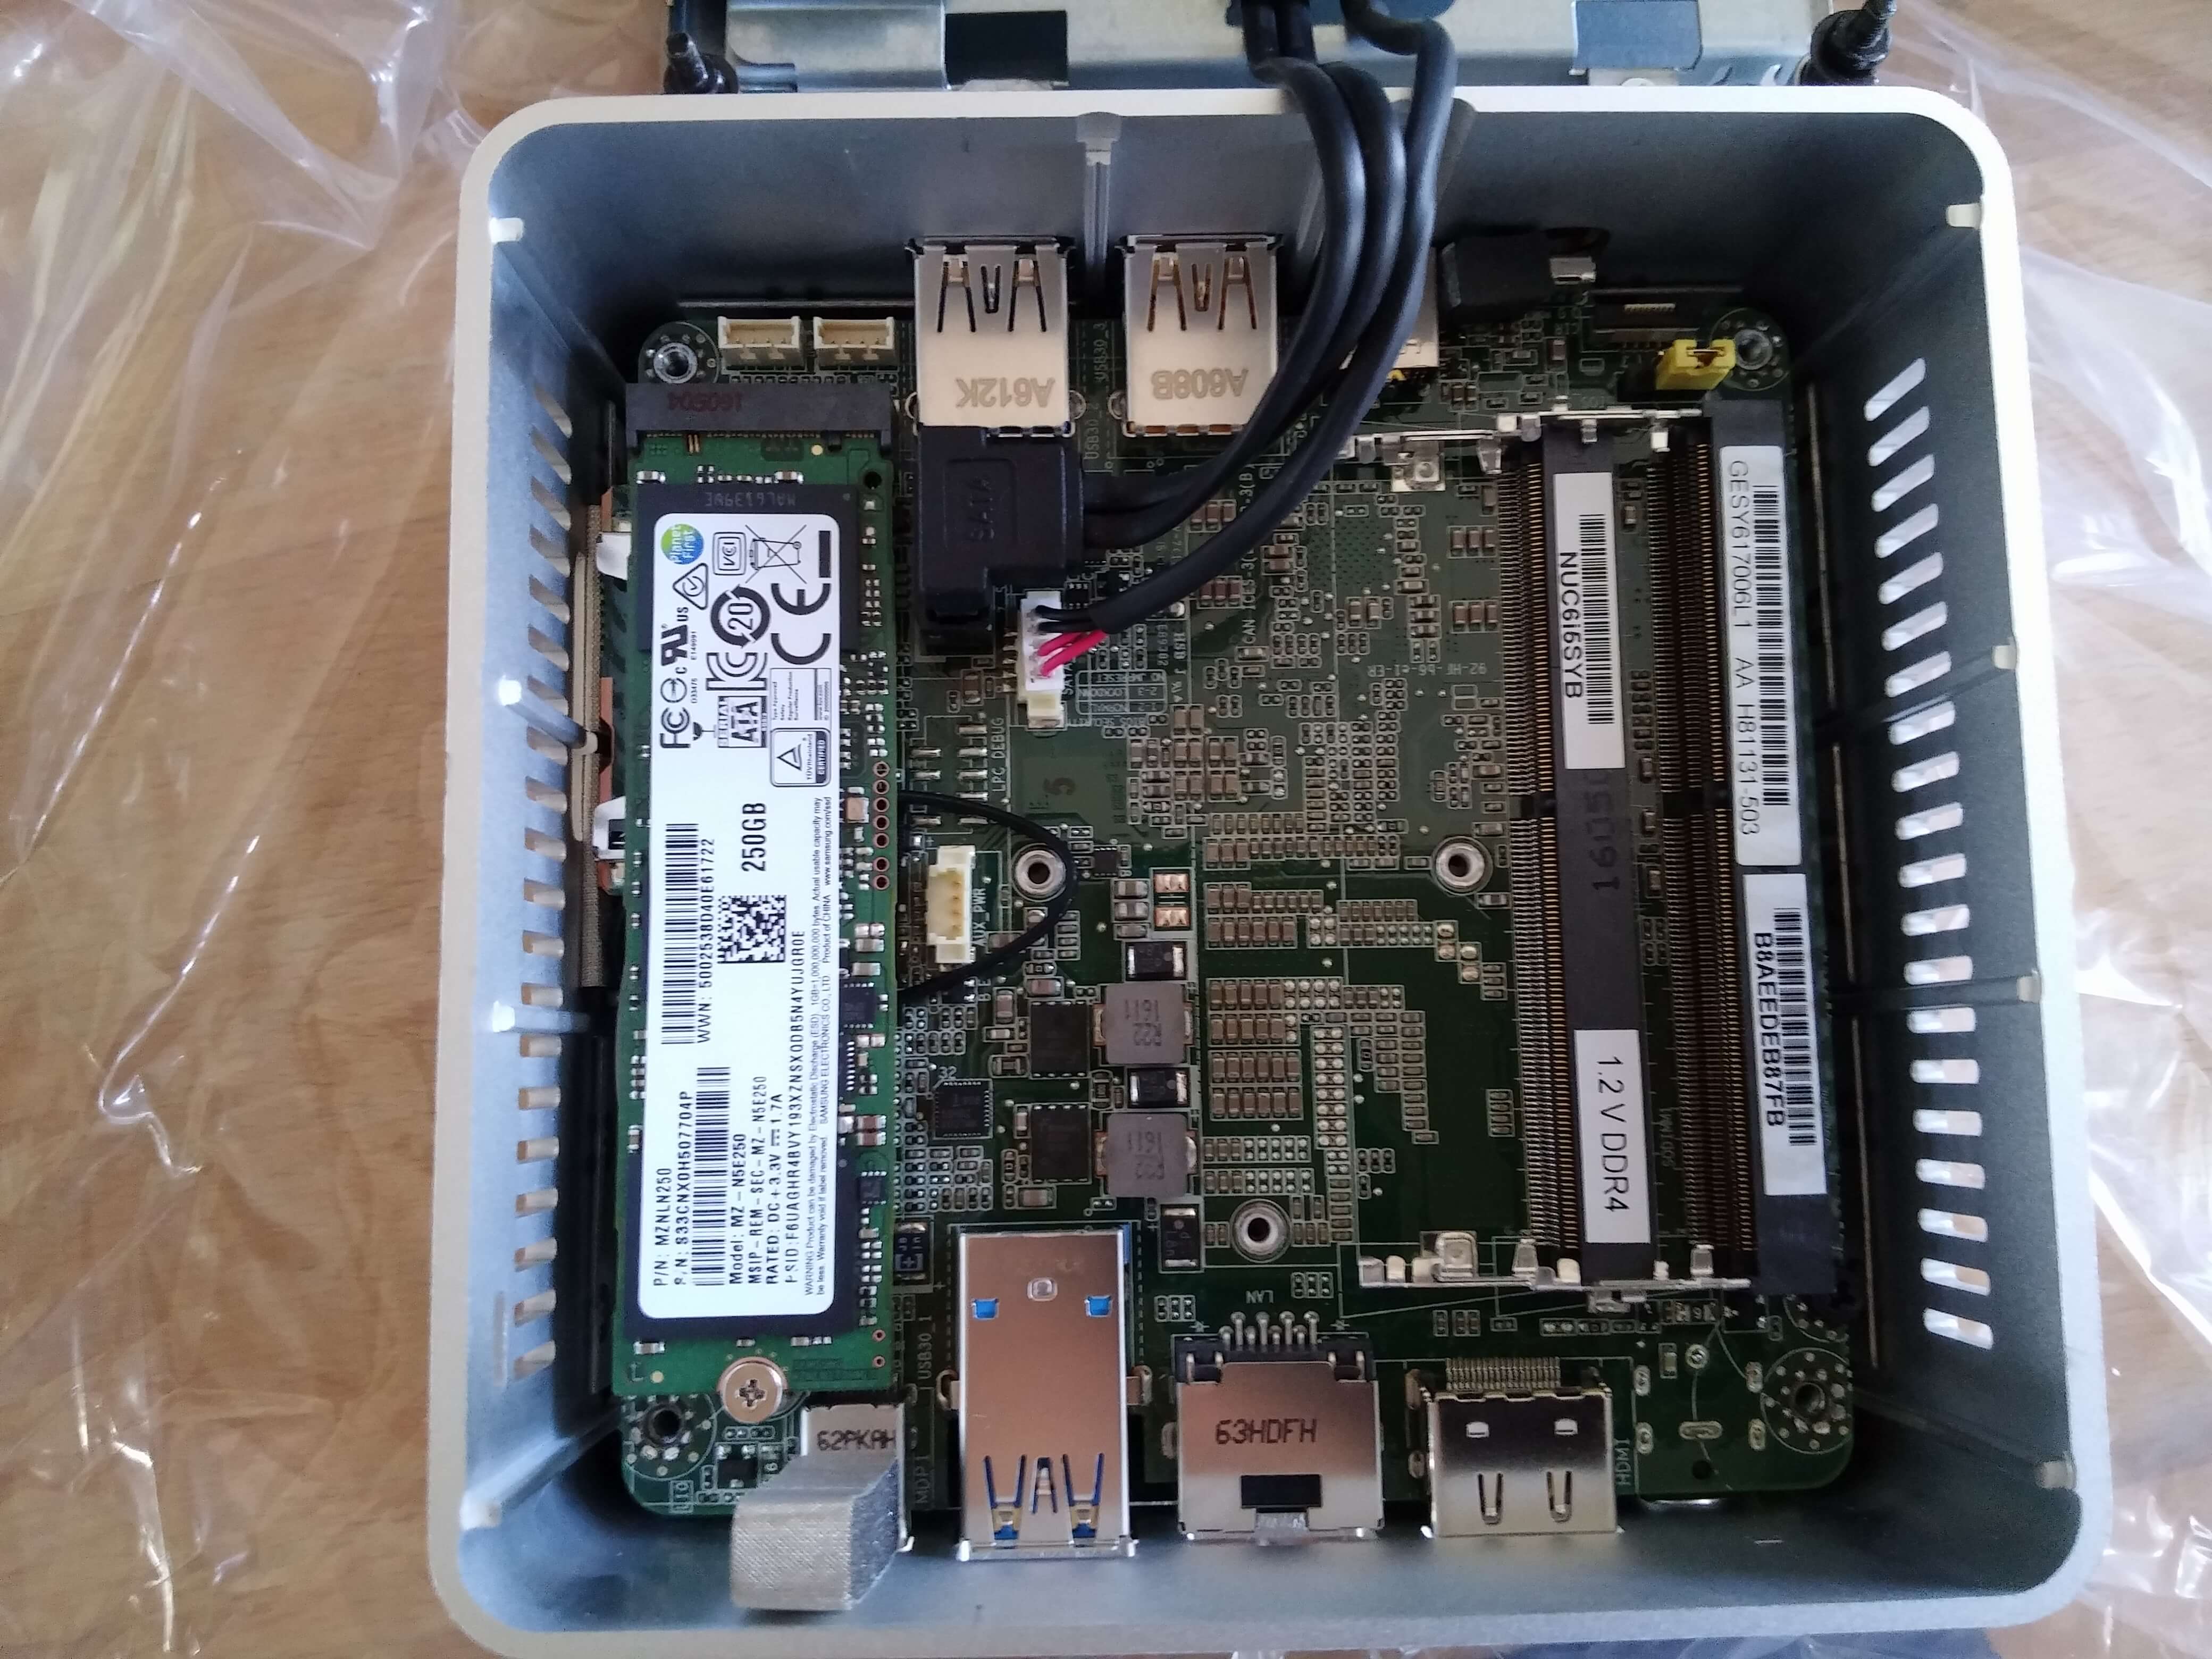
Installing the memory (on the right):
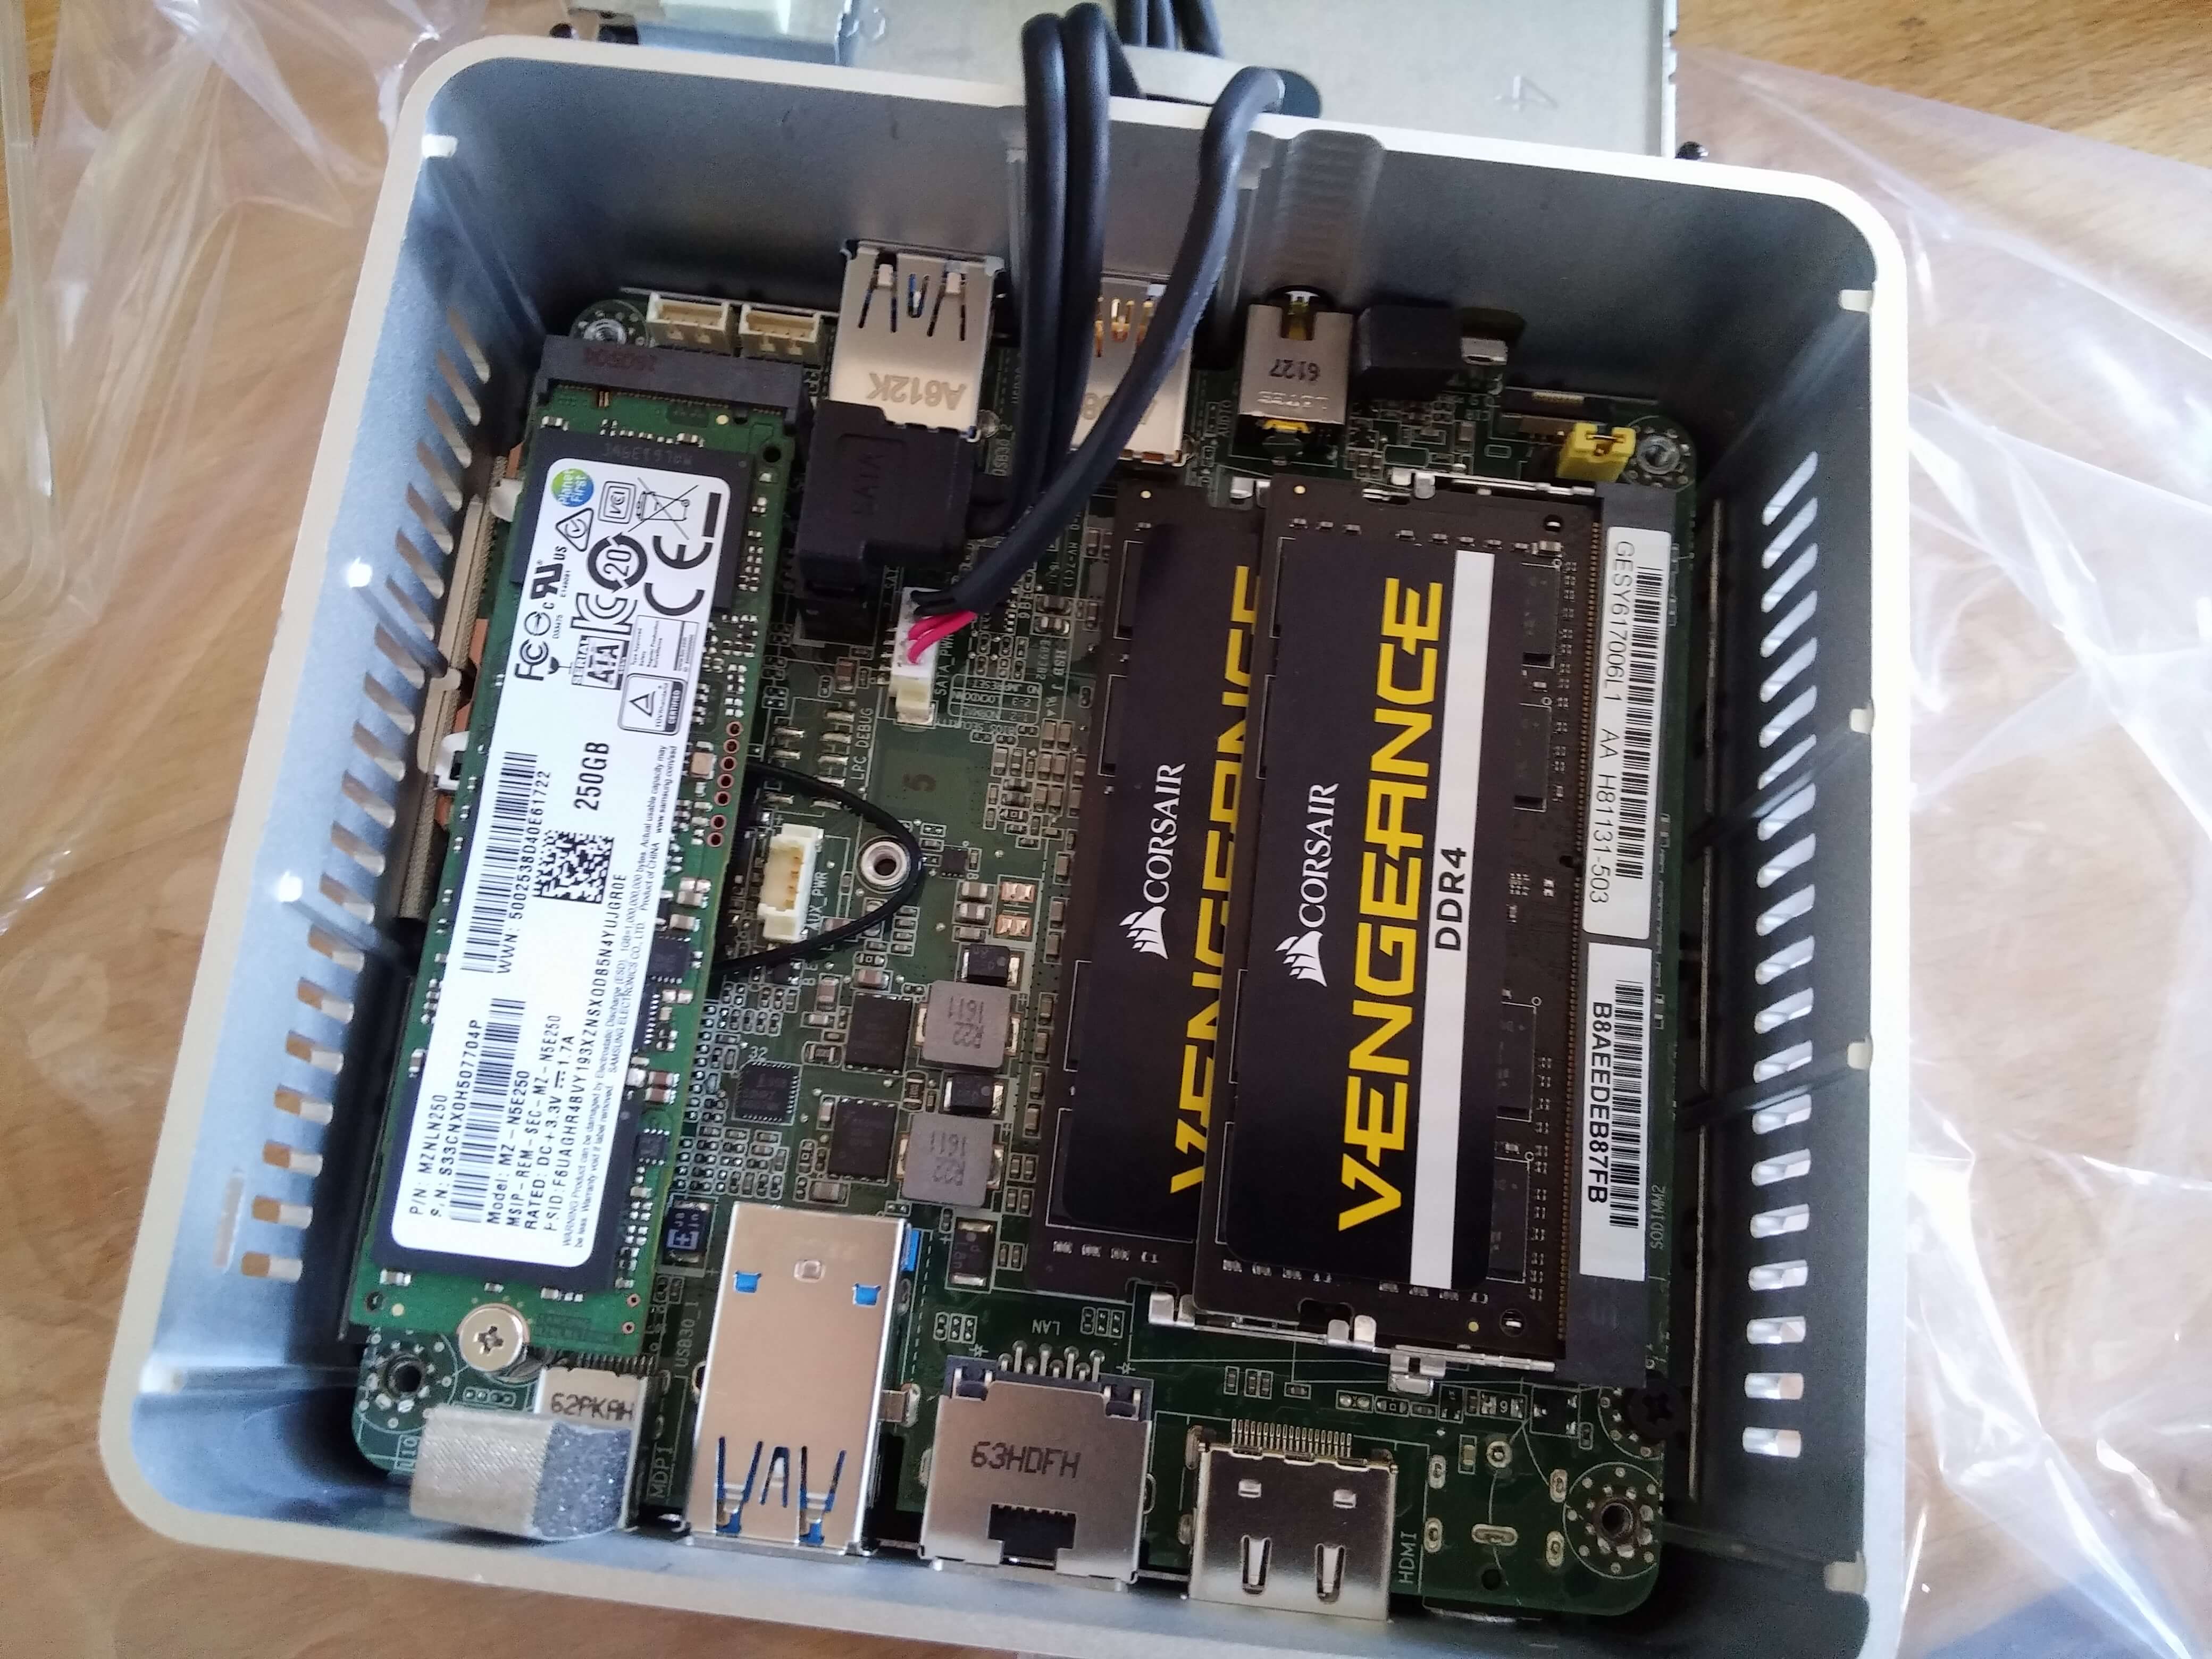
There you go—you can close it up now (unless, of course, you’ve opted for a 2.5-inch SSD, in which case you’ll need to insert it into the cover).
VMware Installation
It’s very simple: just plug the USB flash drive into one of the NUC’s USB ports, connect a monitor to the HDMI port, a keyboard, and the power supply. Turn on the NUC, and the installation will start automatically:
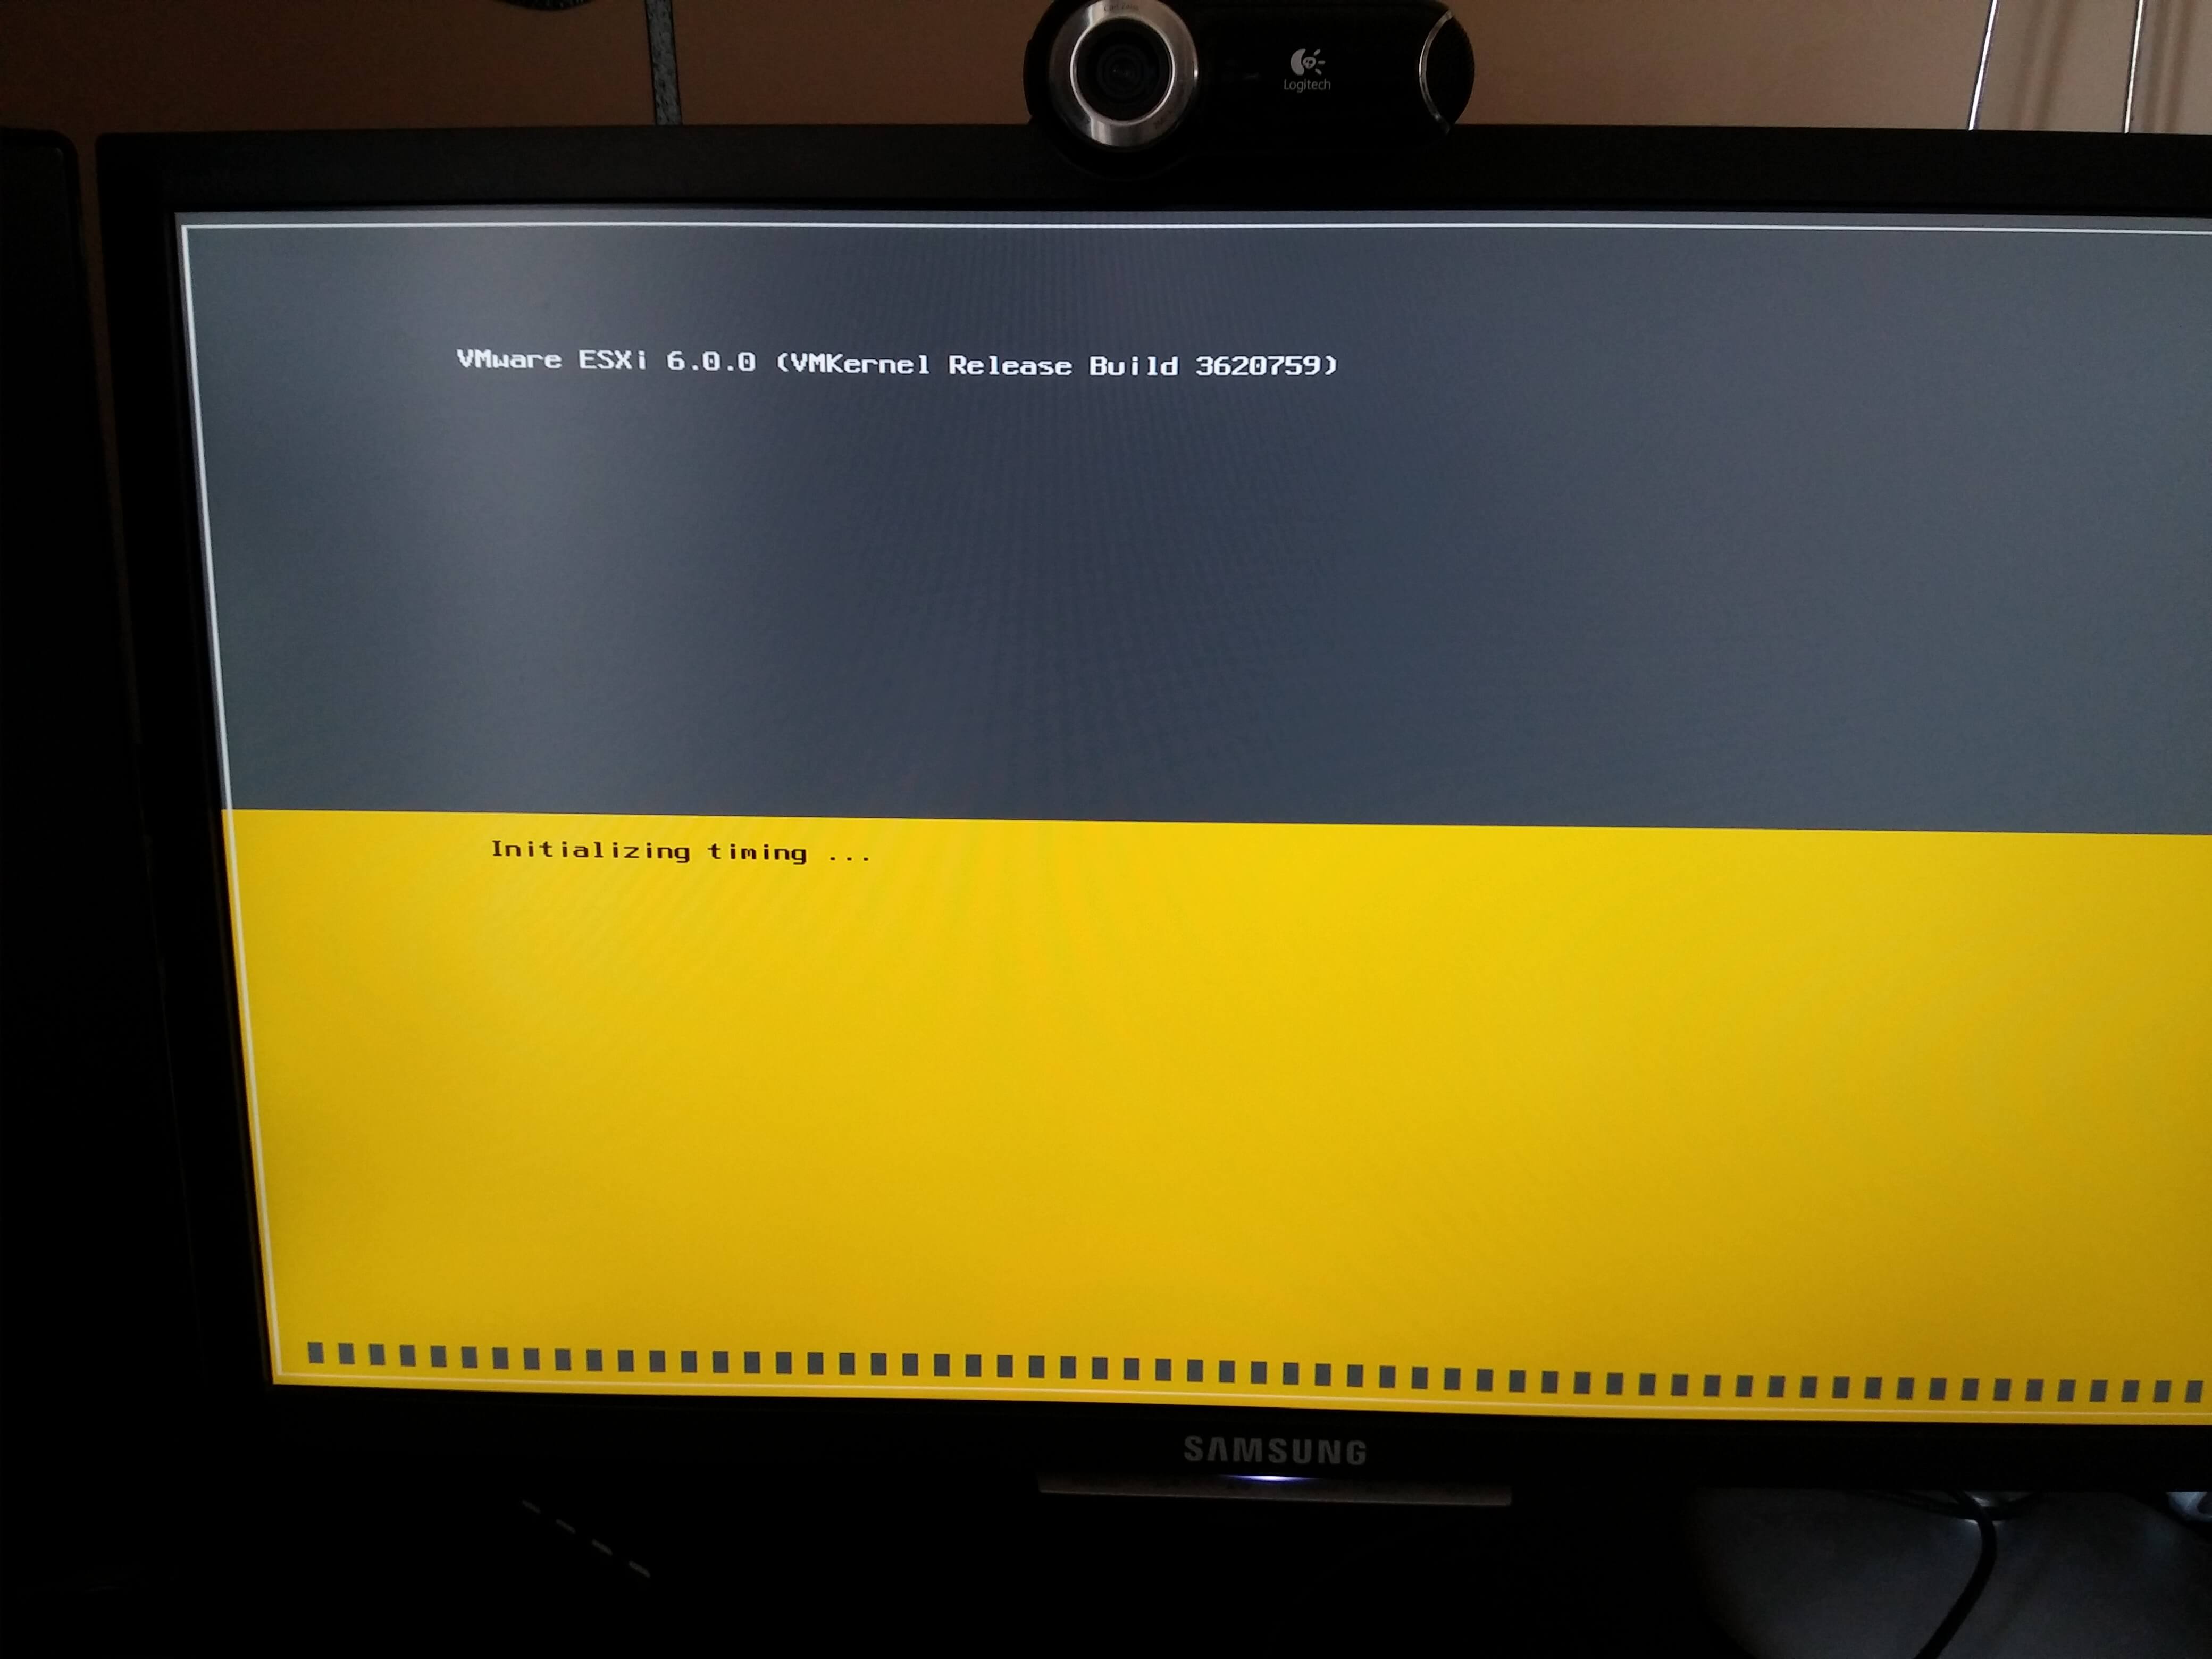
Note
I forgot to take screenshots of the license validation; you just need to agree by following the instructions
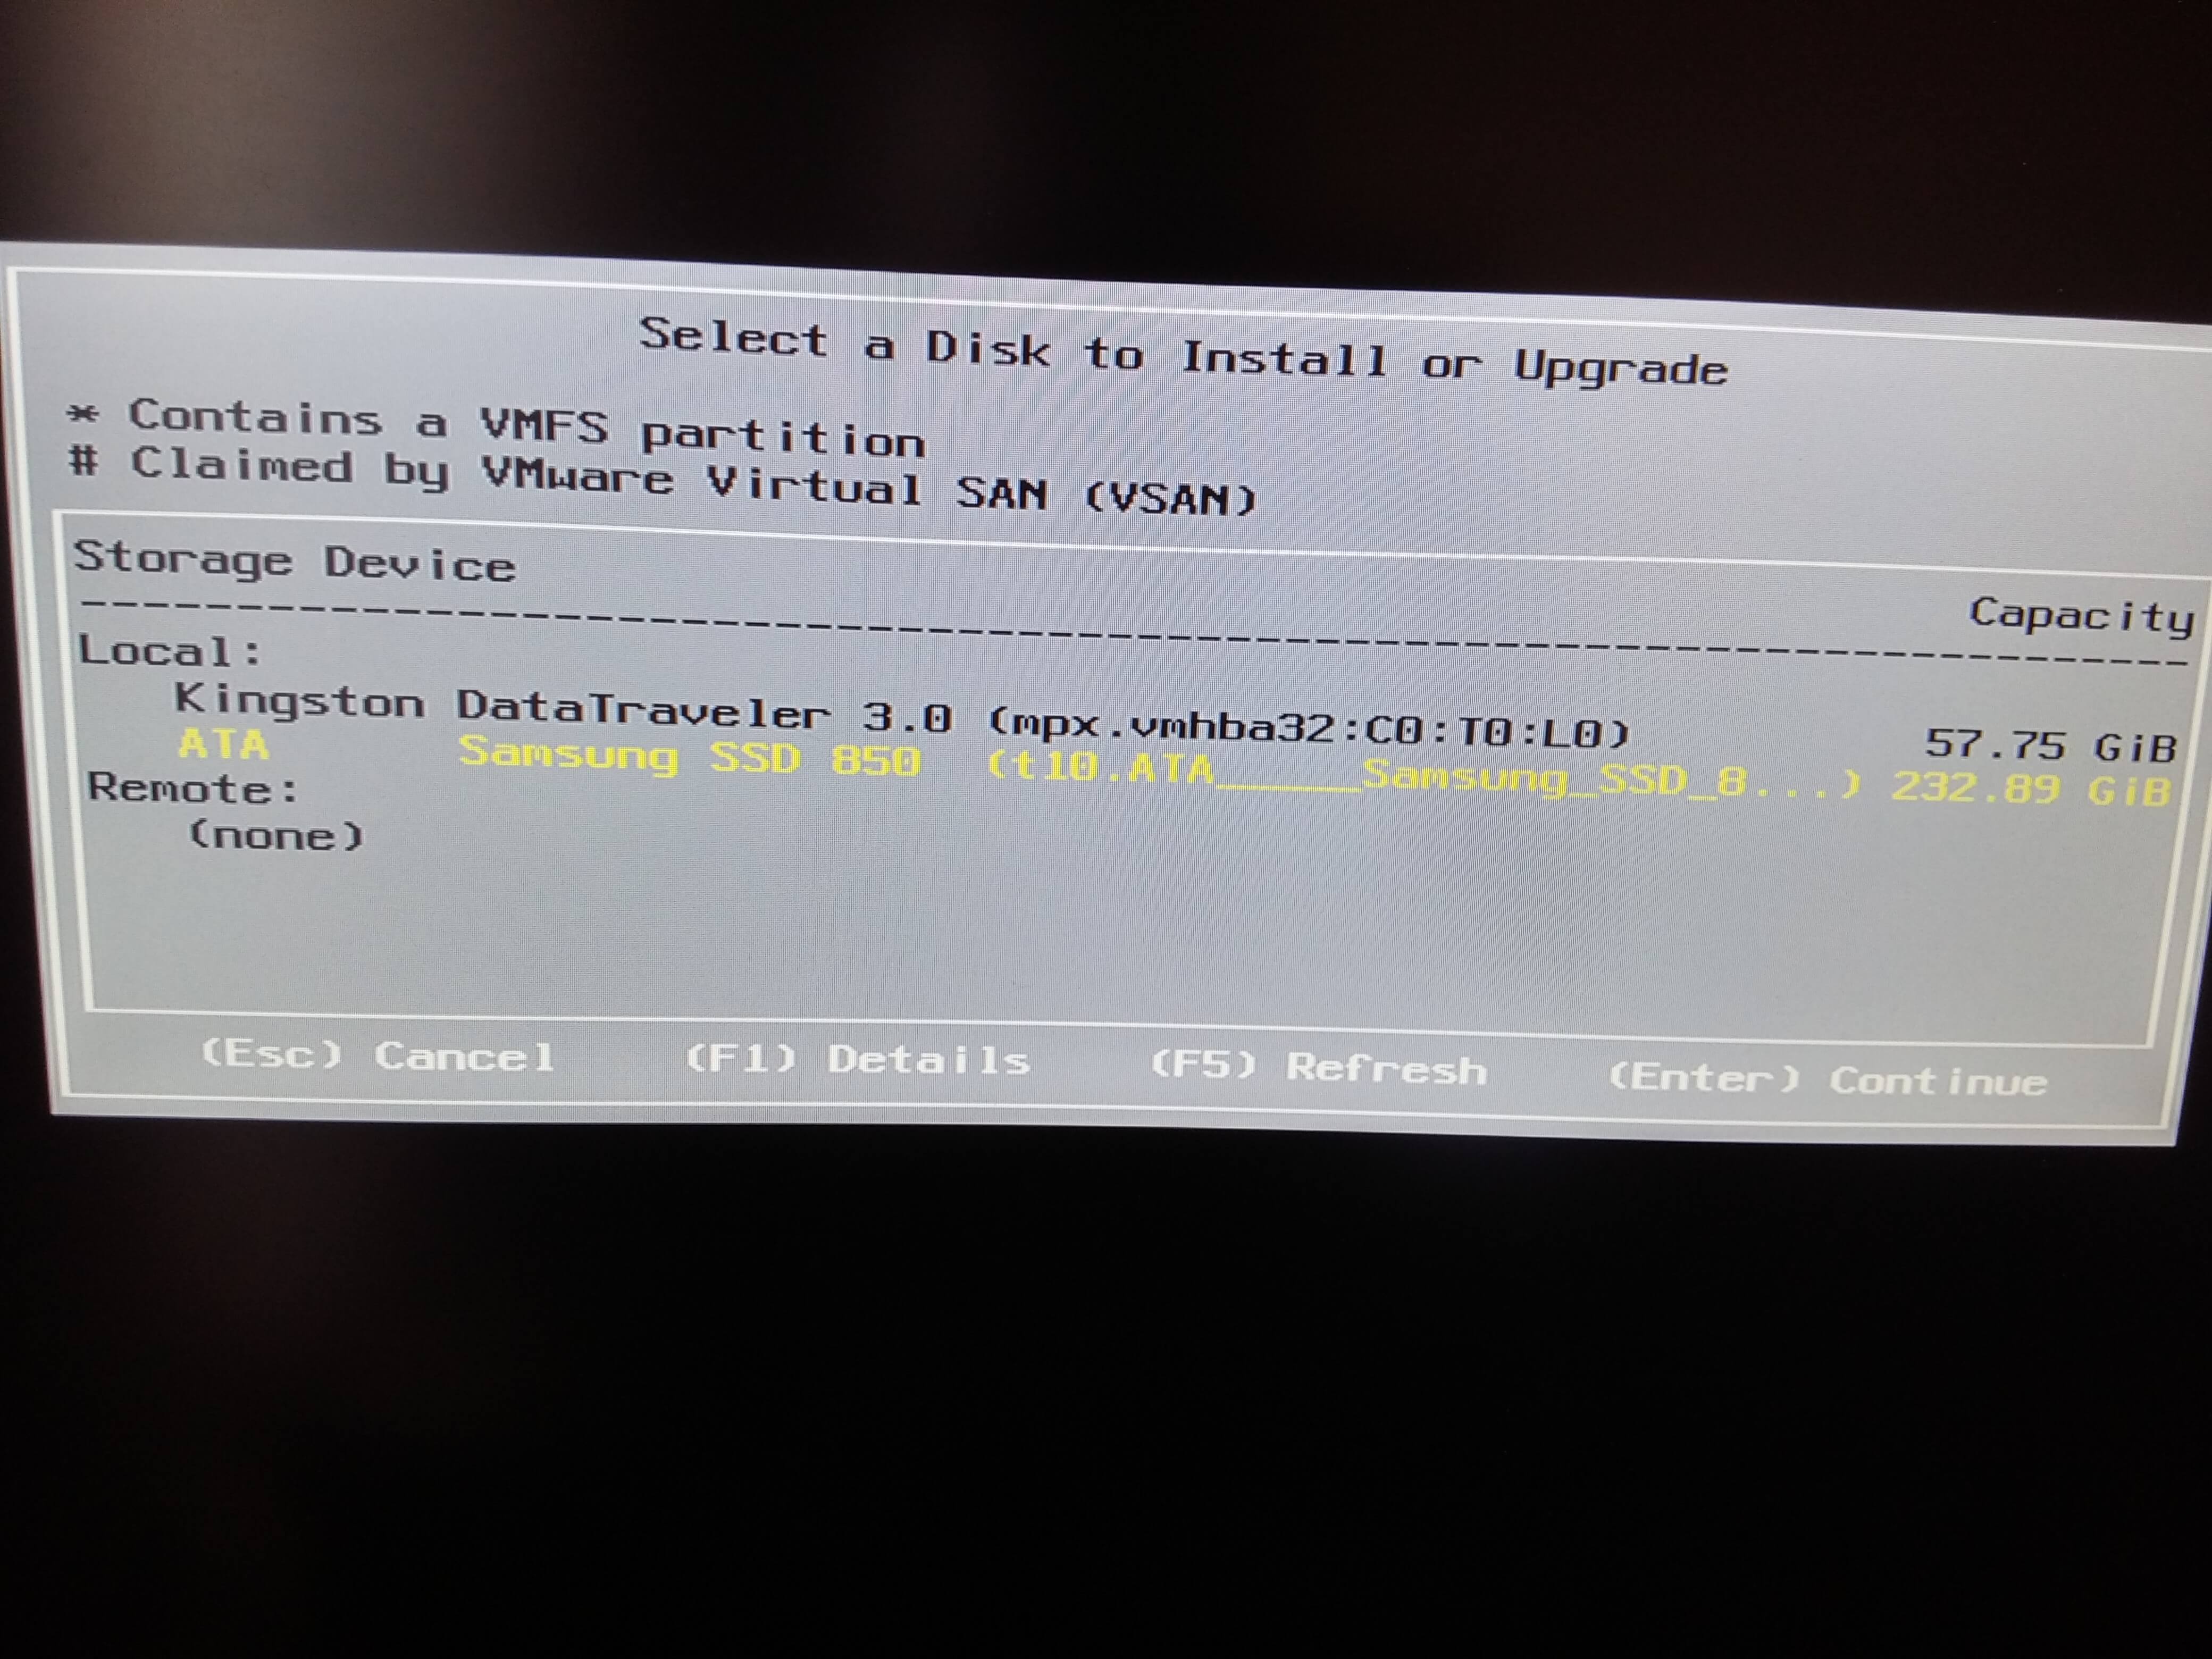
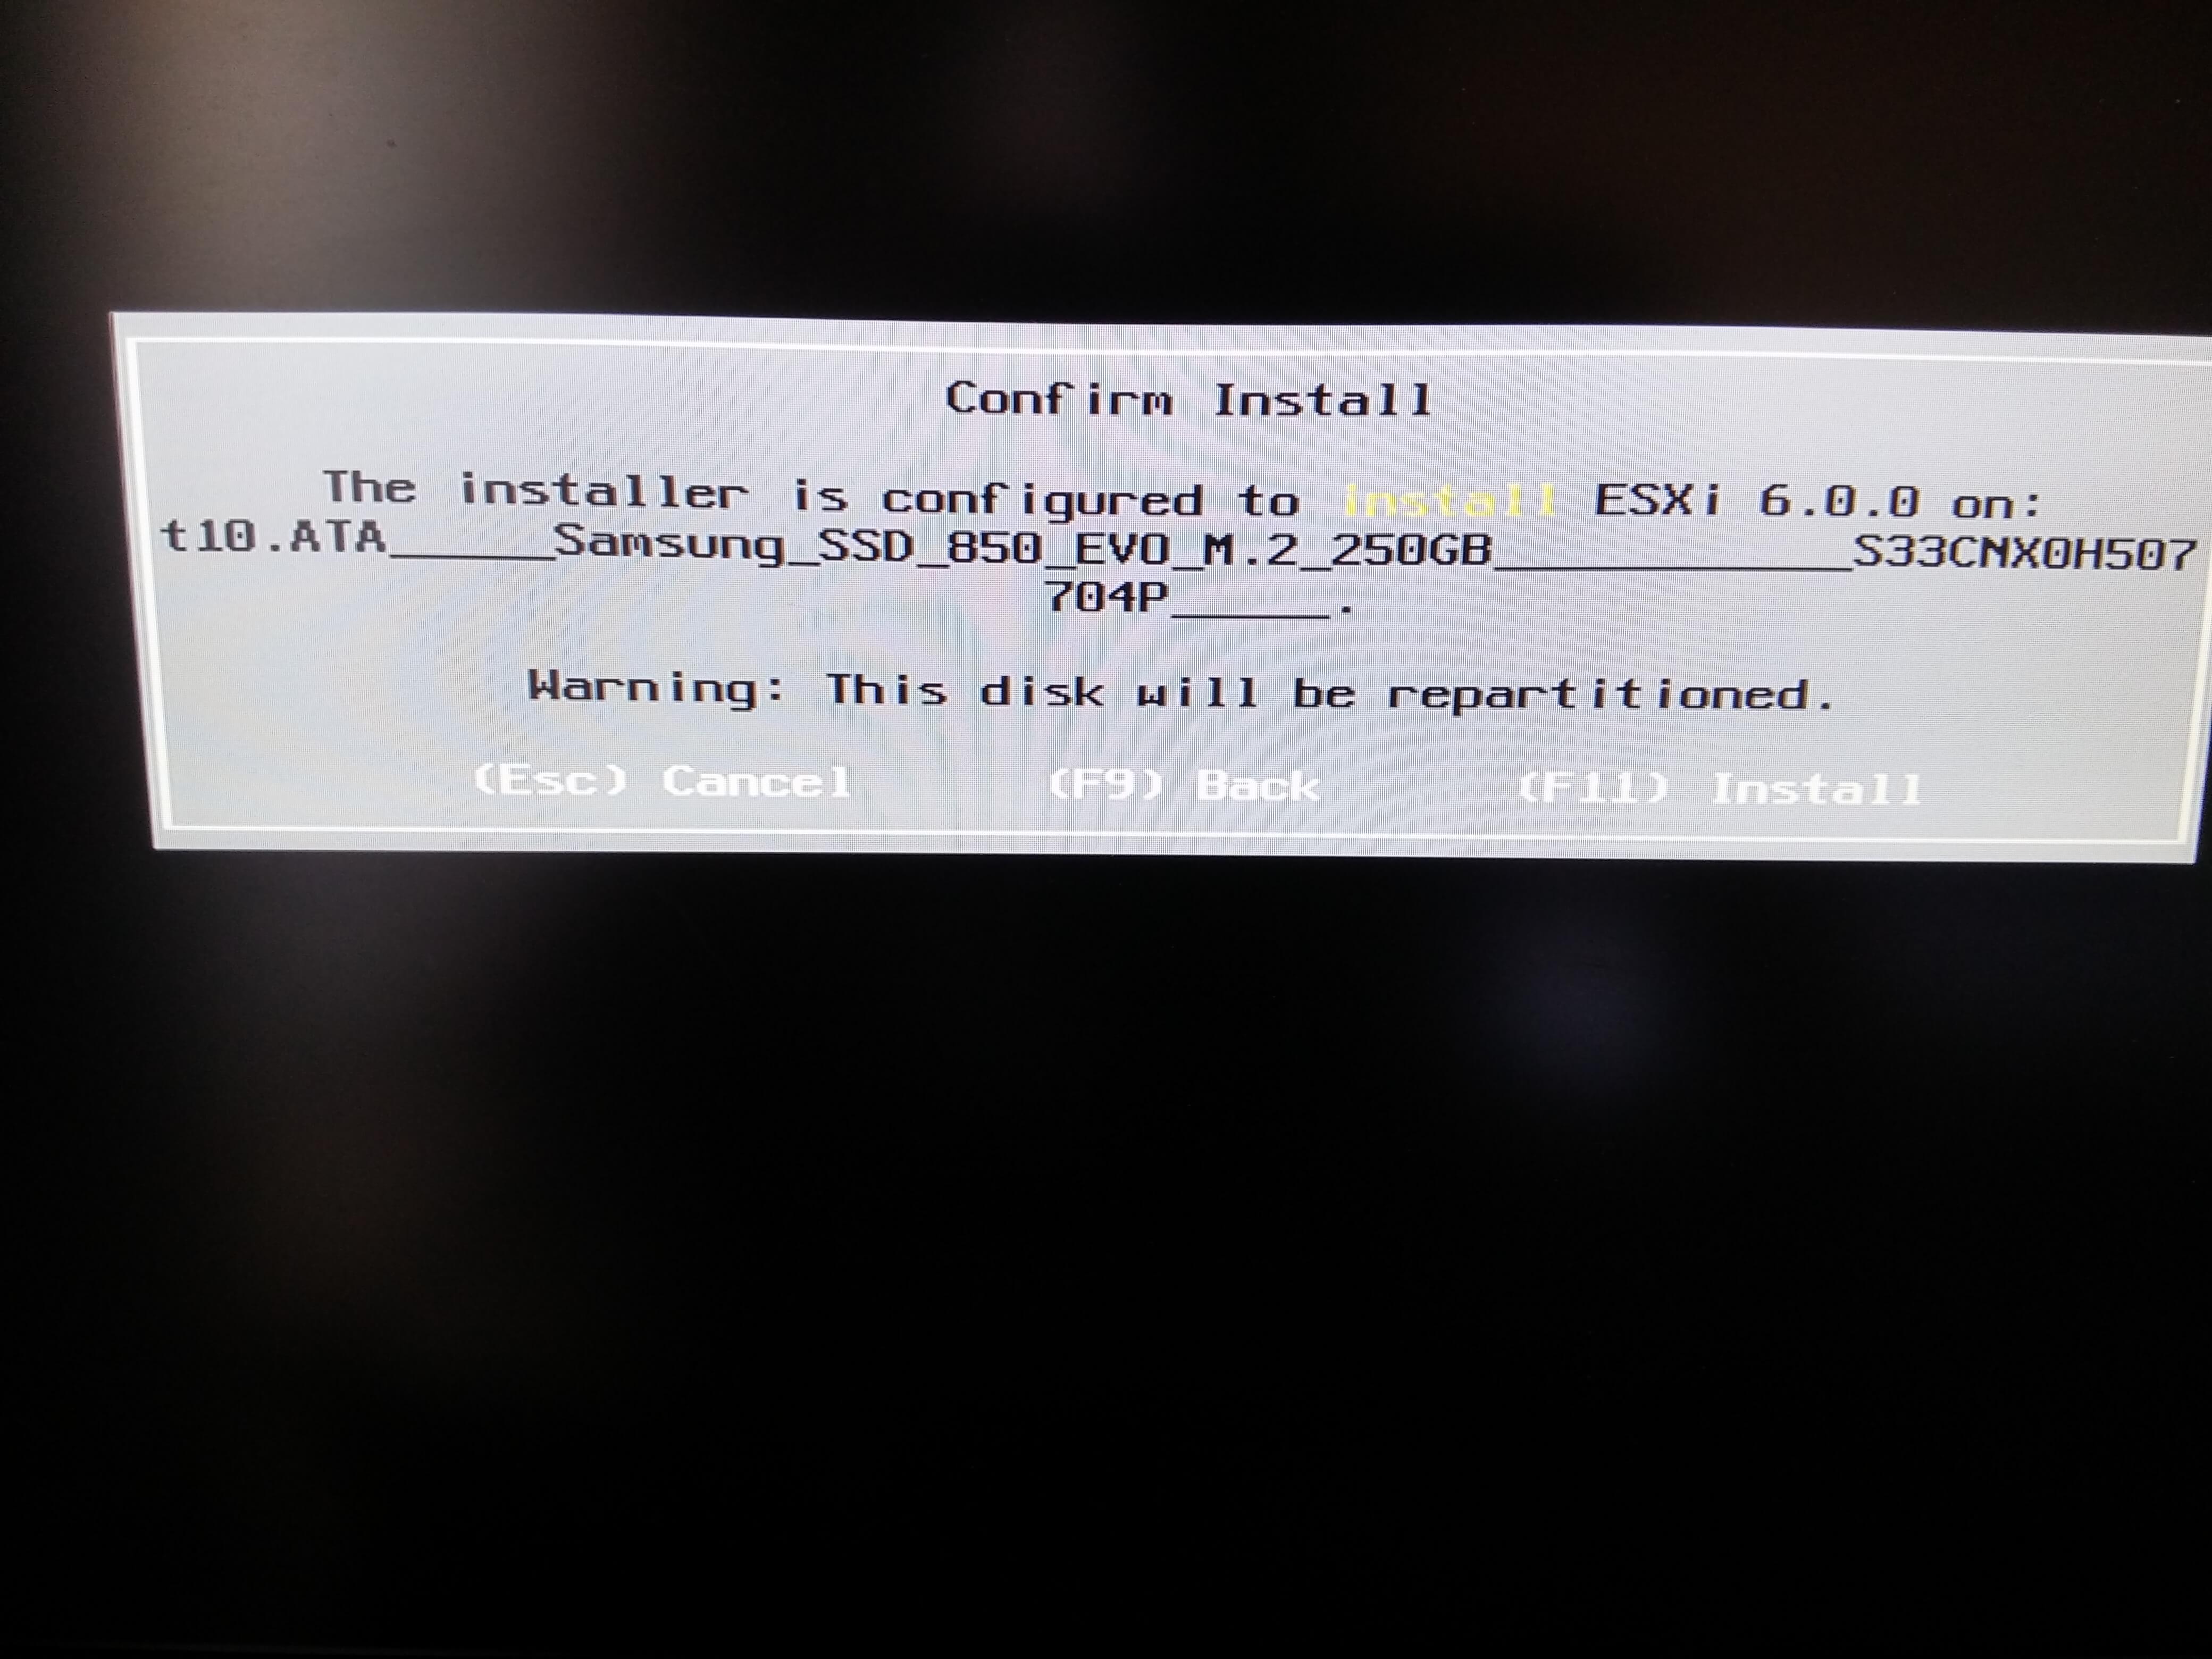
Here, be sure to select the drive that corresponds to the SSD (you can identify it either by its name or by its size)
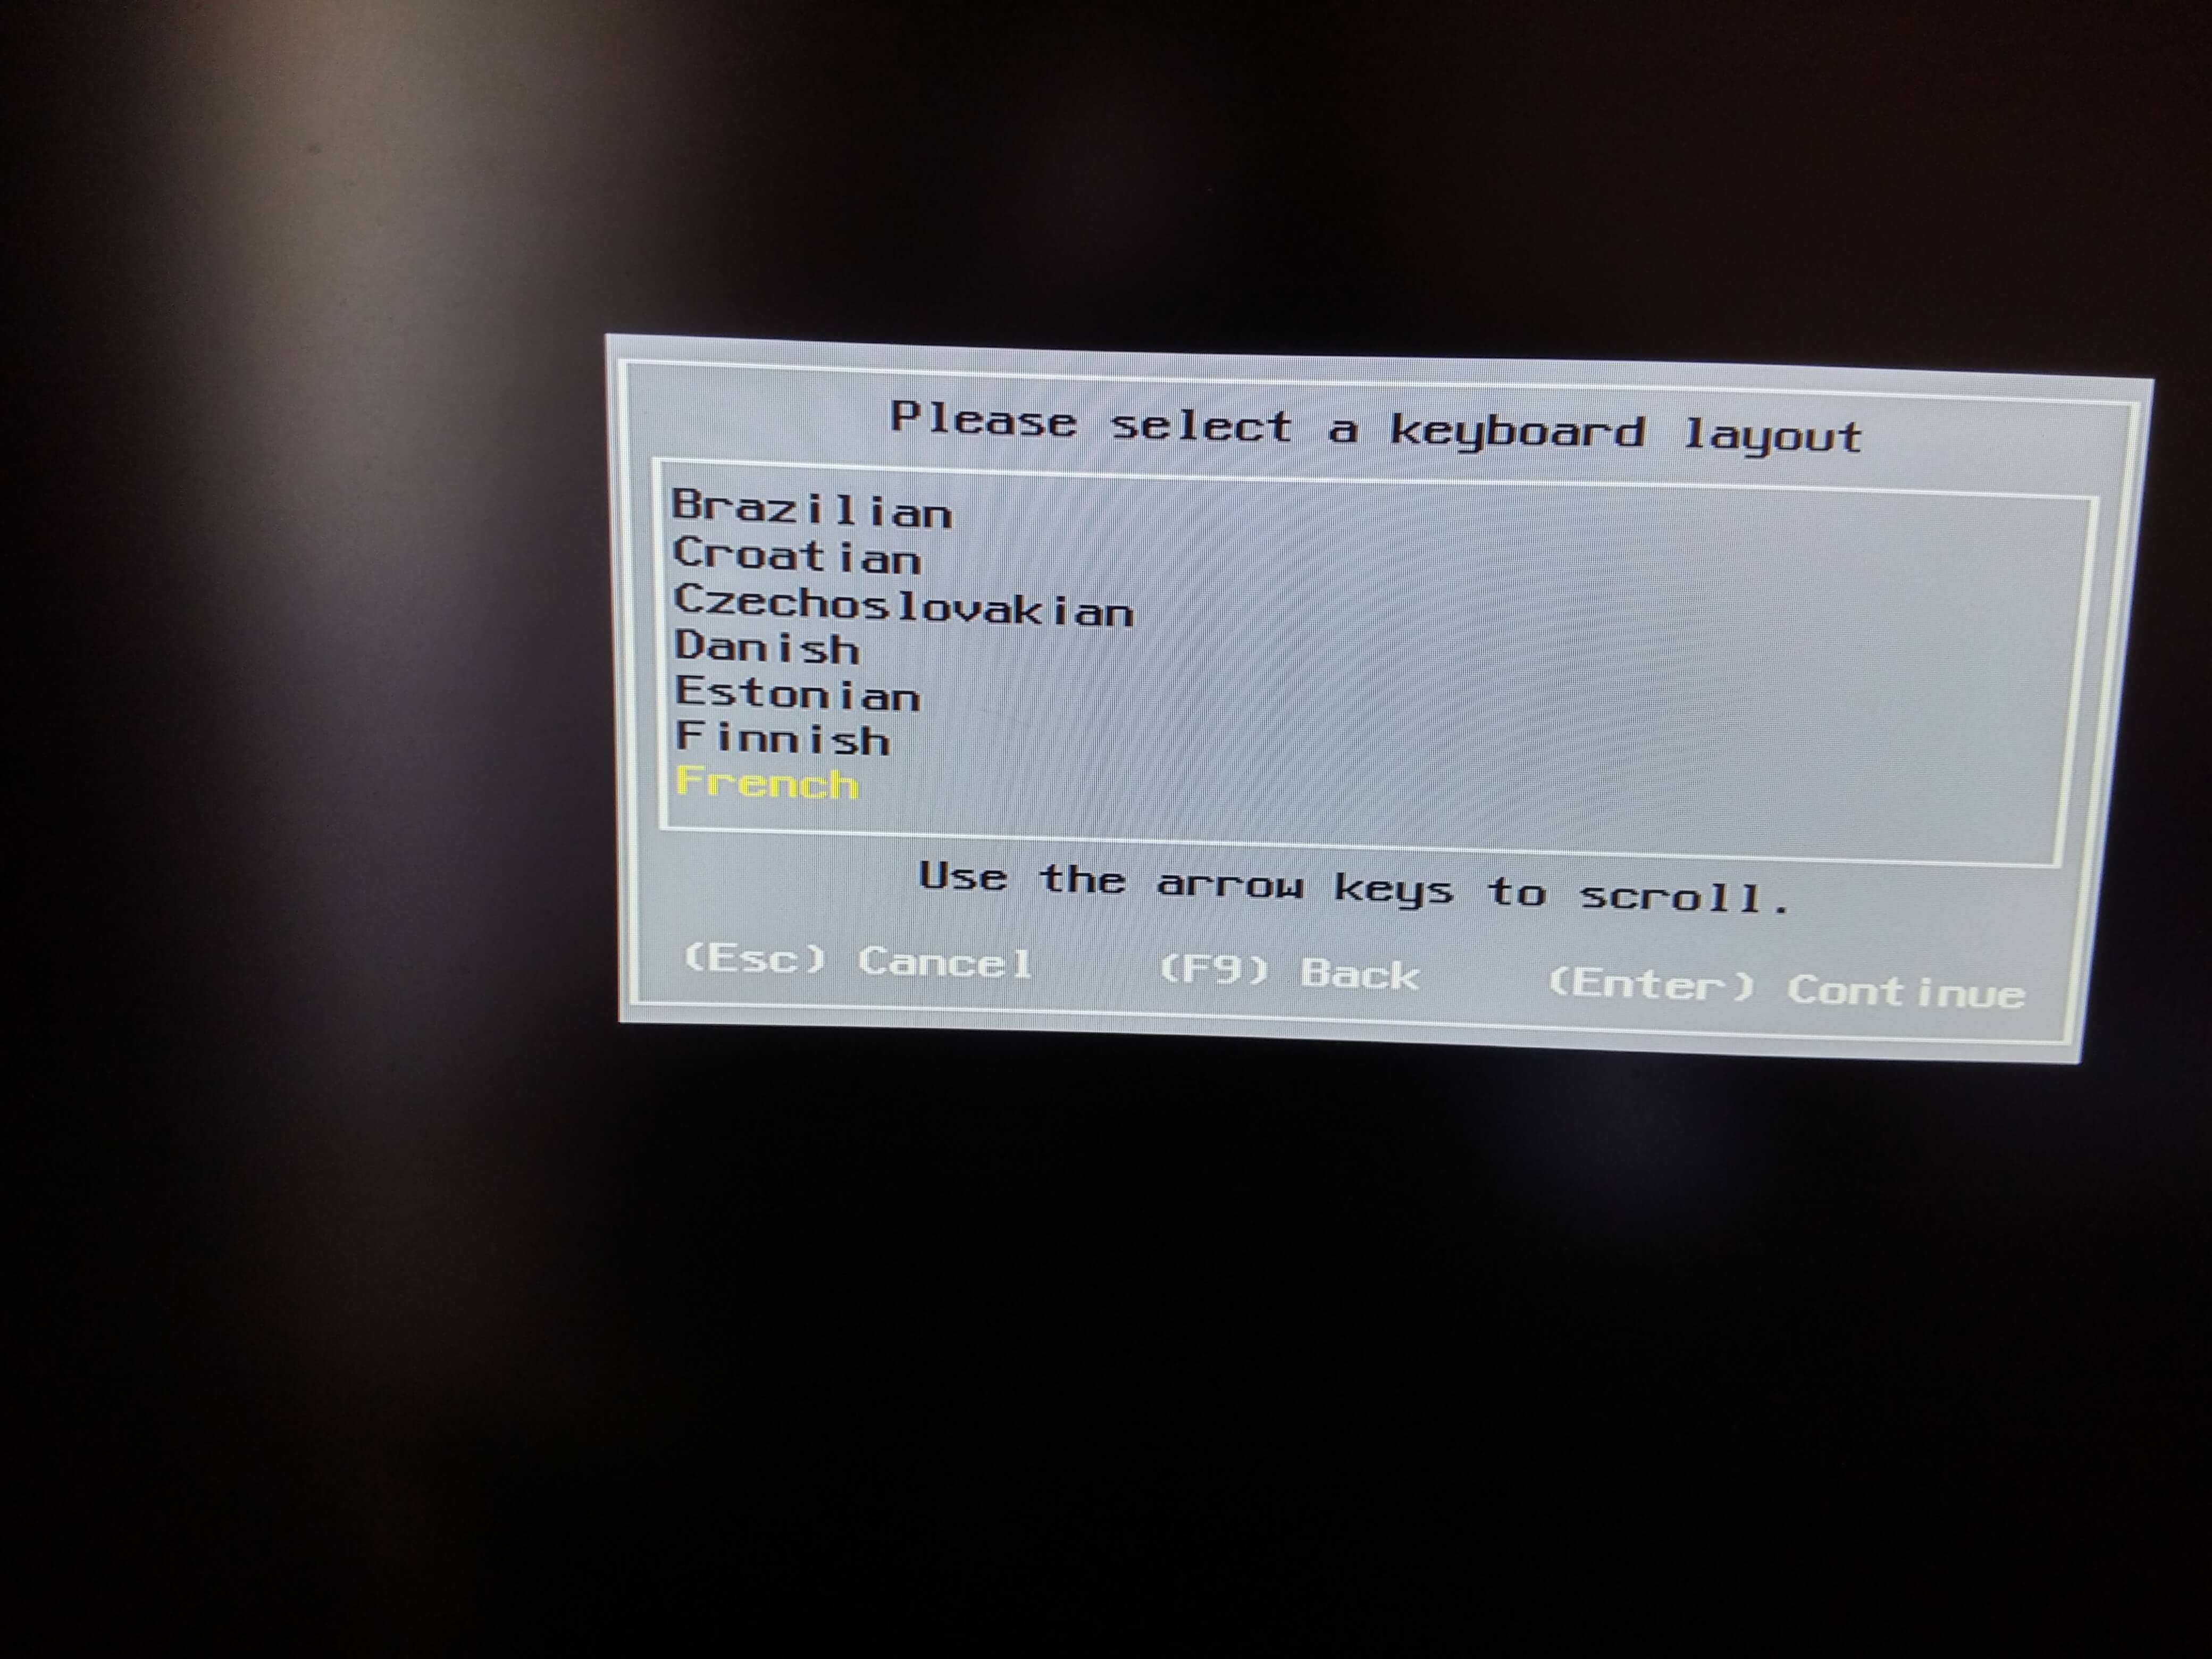
Select “French”:
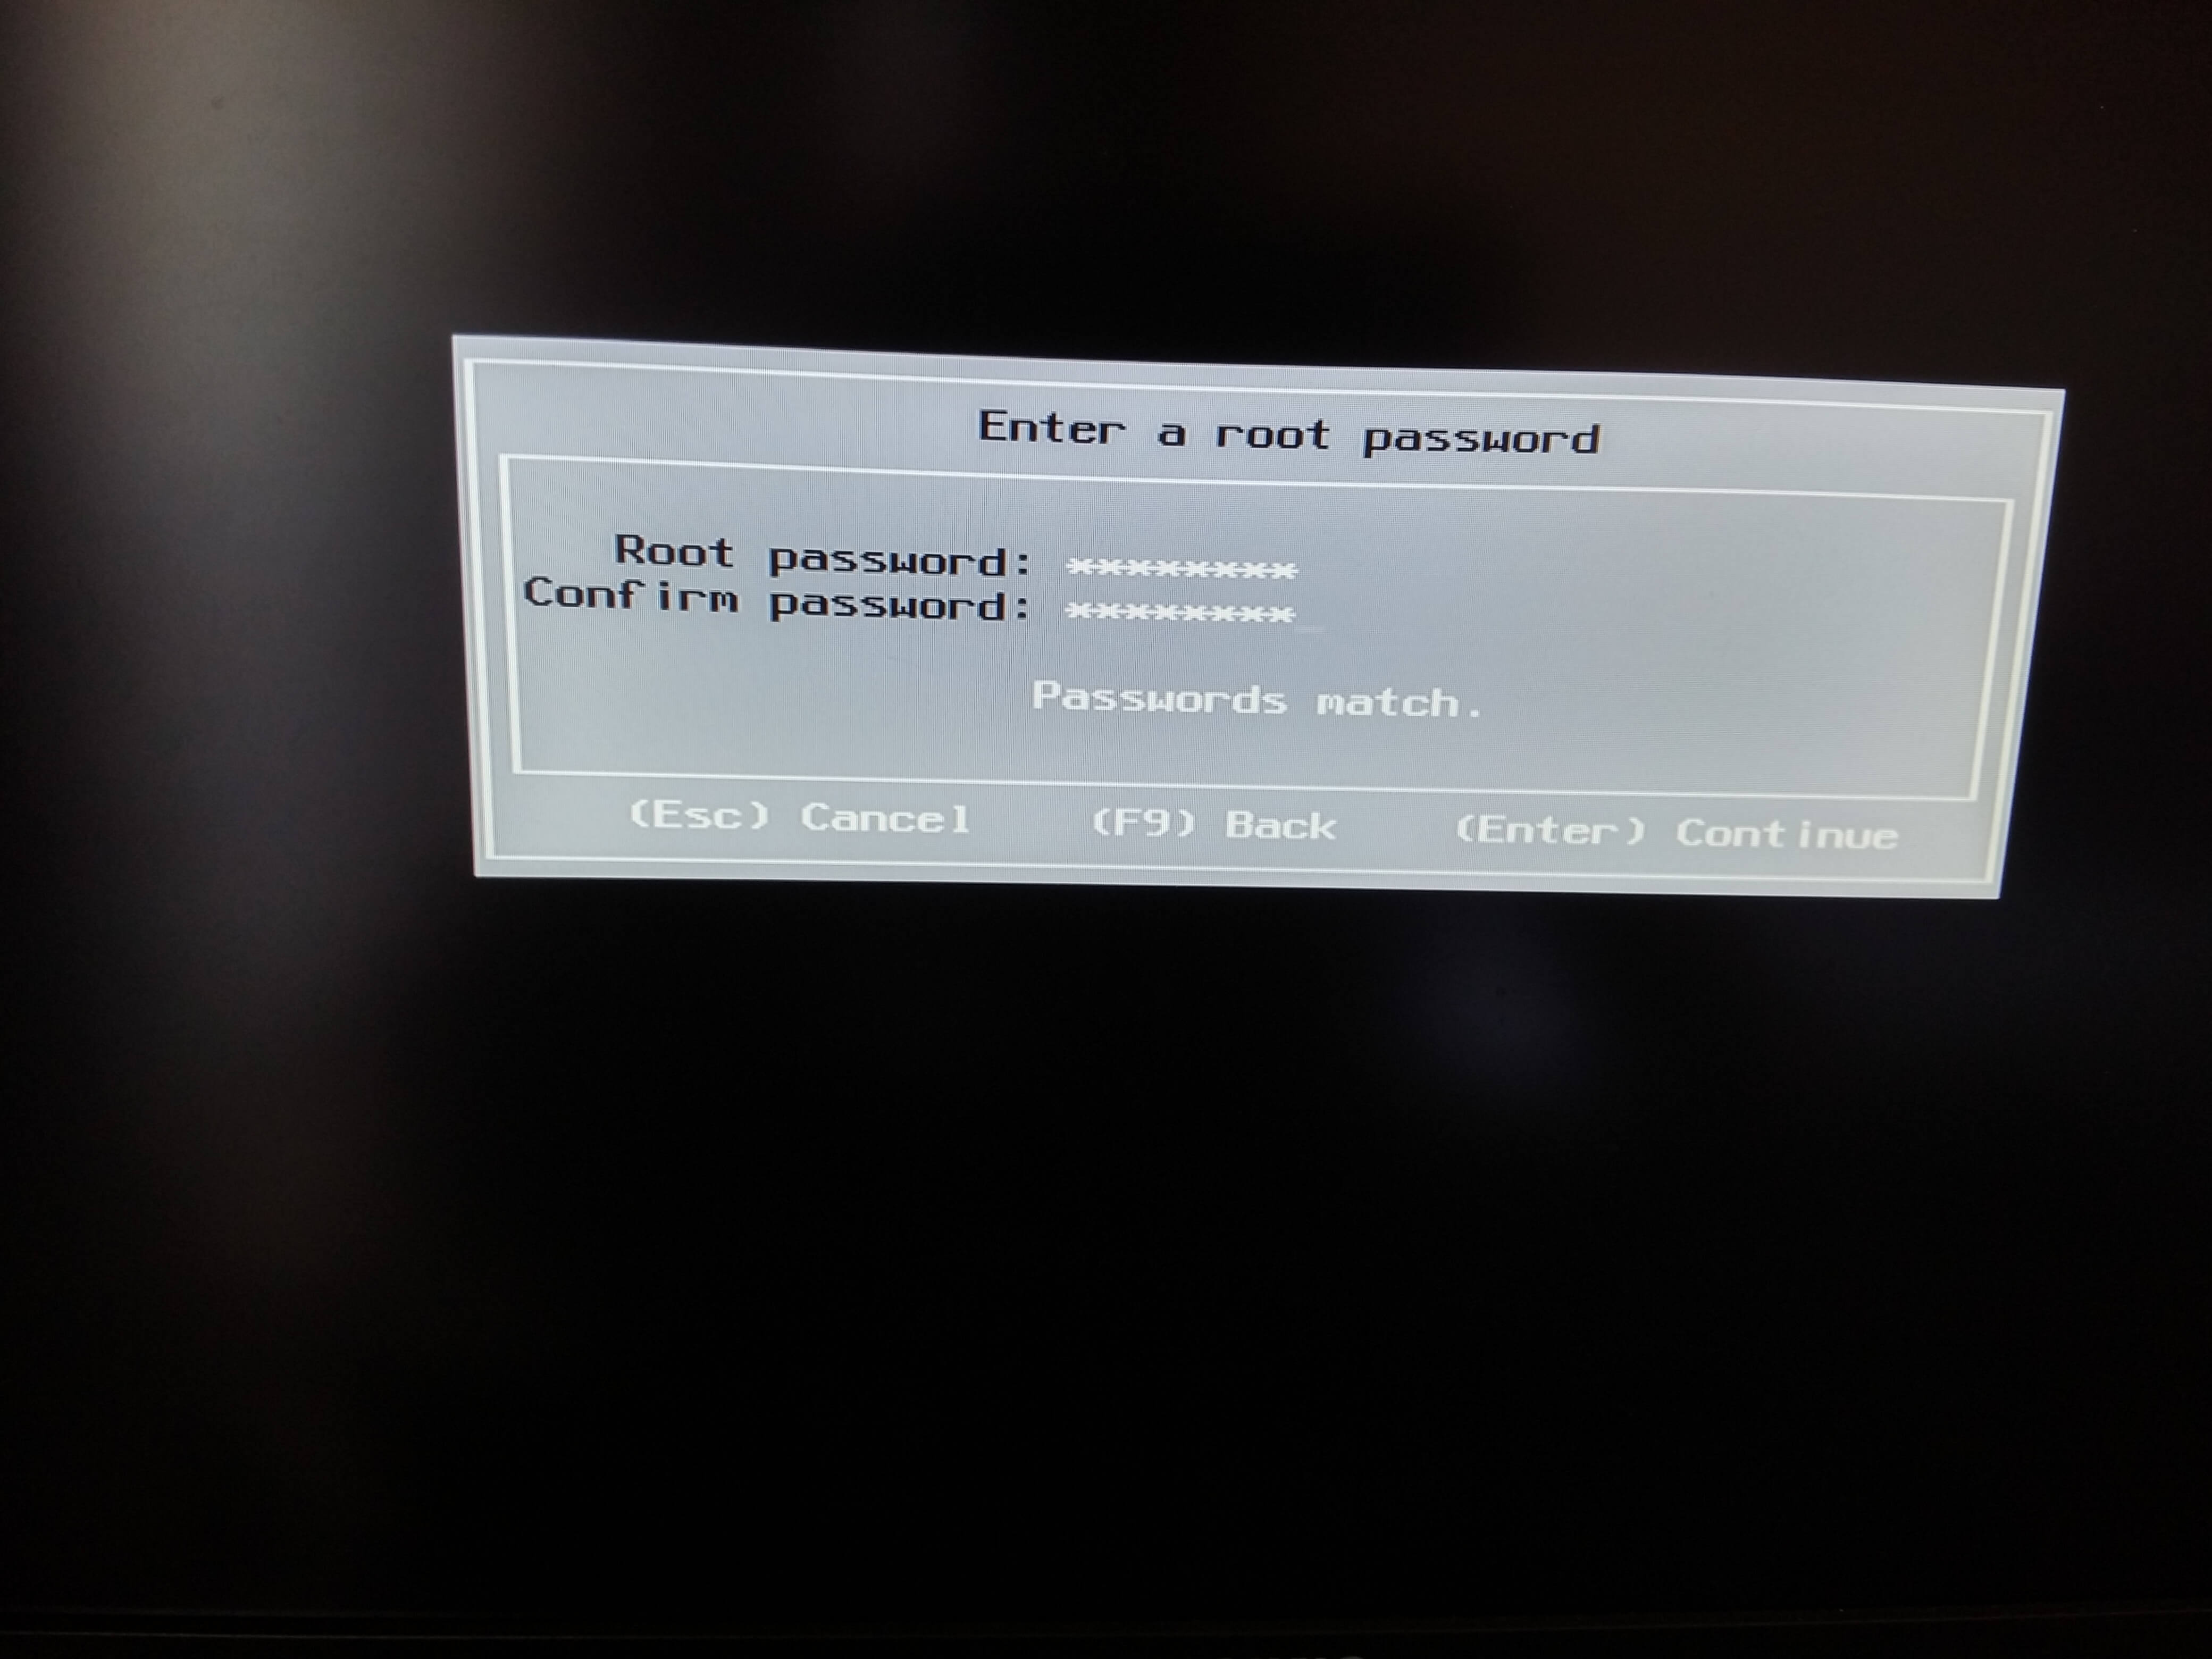
Set a password. To start with, I recommend using something simple like “oooo” (we’ll change it later):
Press F11 to confirm:
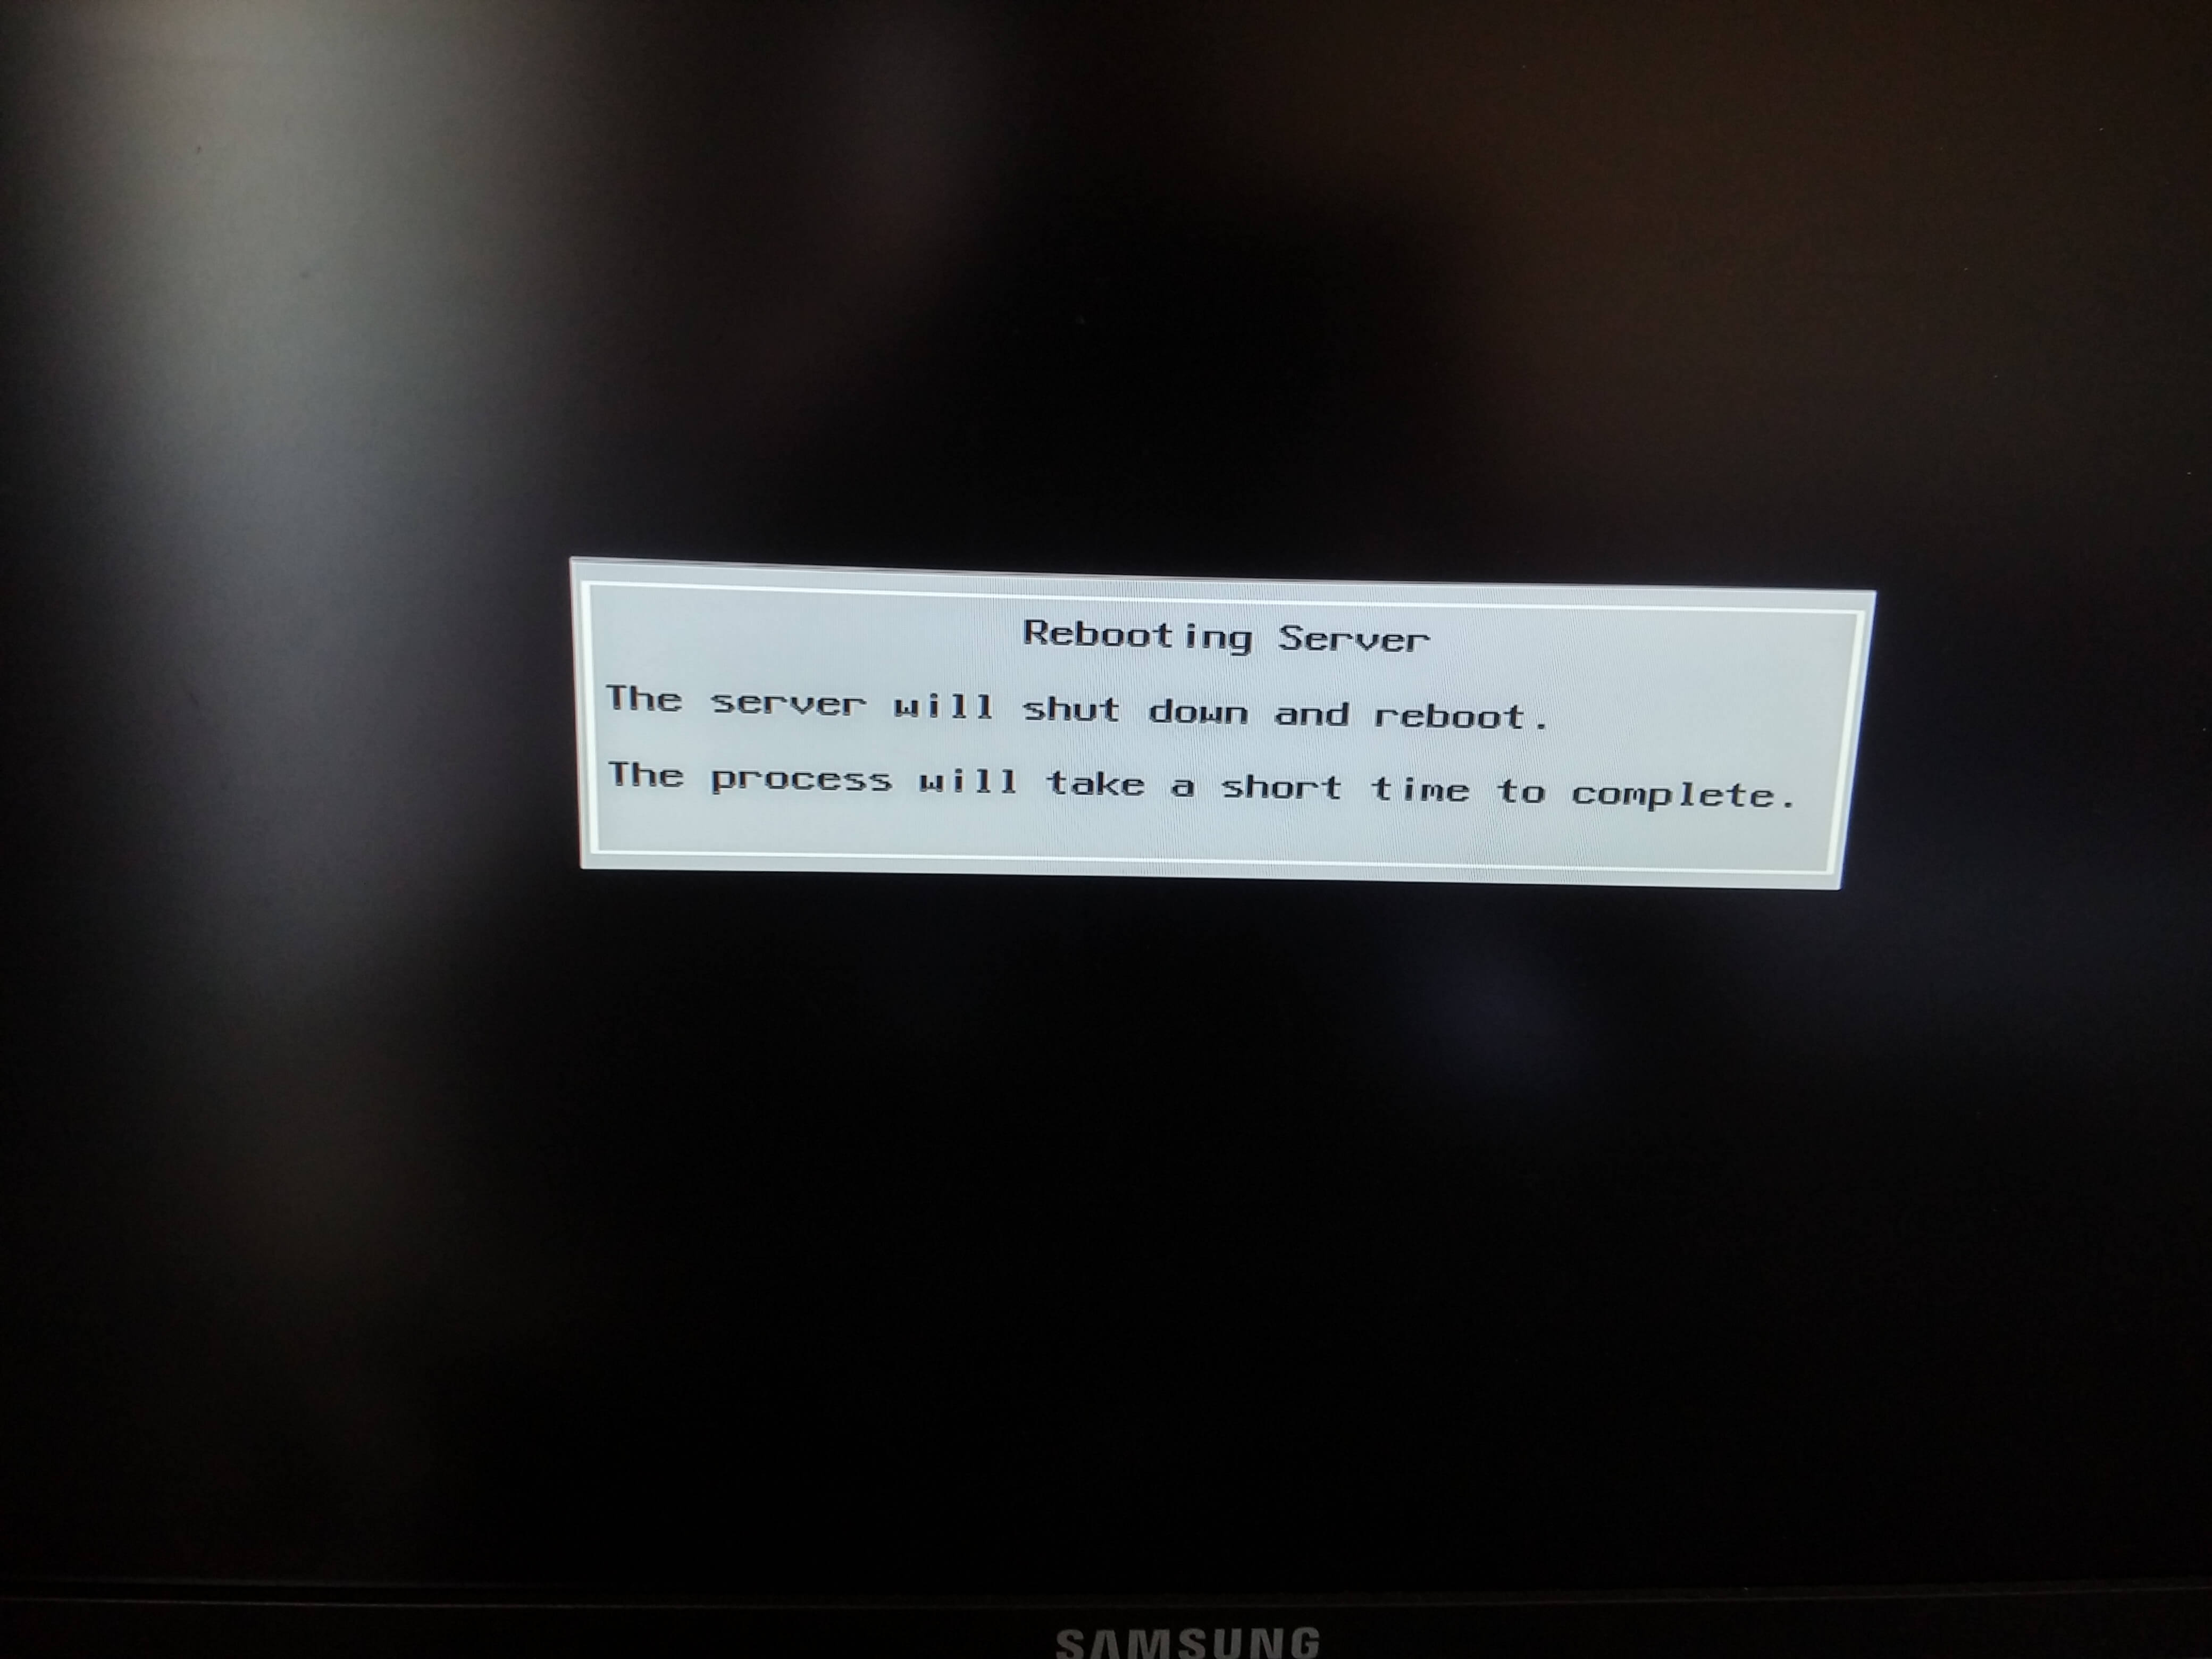
Installation will take 10 to 20 minutes. Afterward, you’ll need to remove the USB drive and wait for the system to reboot.
Once the reboot is complete, you should have:
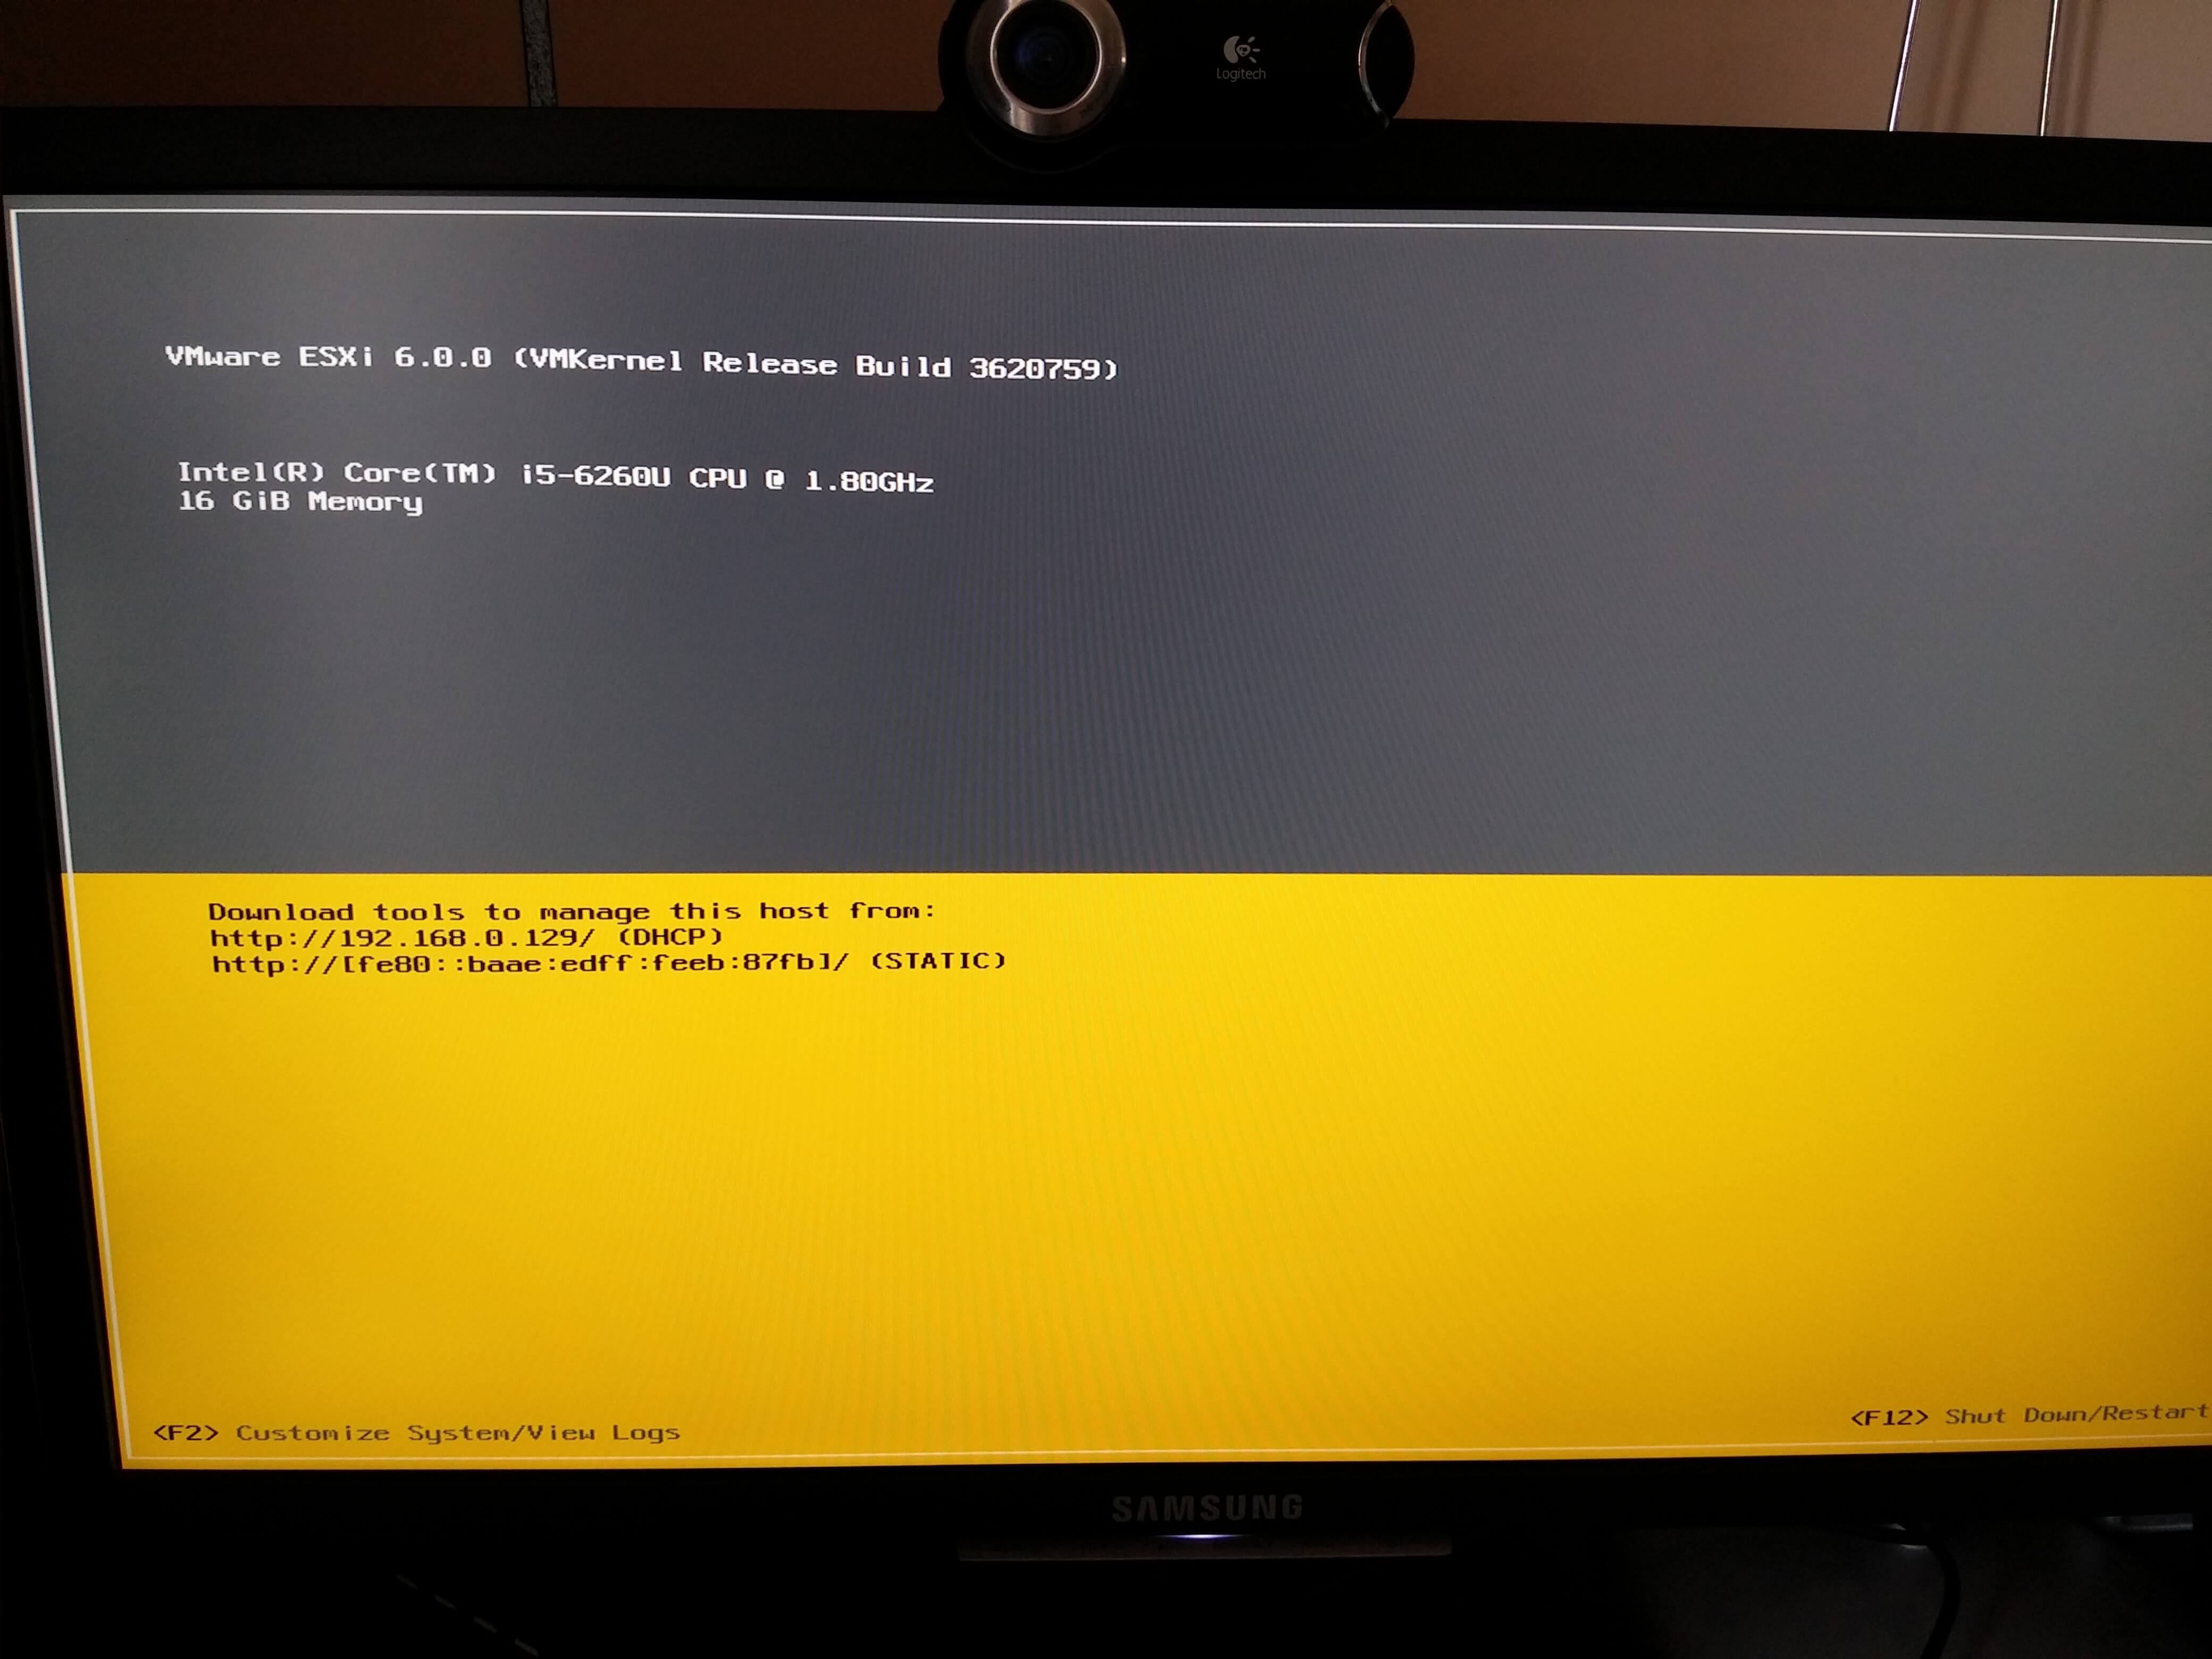
There you go—VMware is installed (and it’s nice because it gives you its IP address), so now it’s time to play around with it!!!
Next, here is a tutorial for setting up your first VM. And you’ll find here A tutorial on tips and tricks (for example, how to enter your VMware license)