Roku plugin
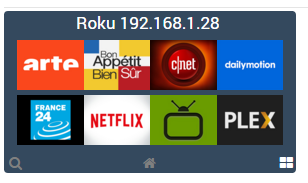
This plugin allows you to control your Roku. He can detect it by himself and synchronize his chains. So it will be possible to have a 3-part widget :
1 remote control part
1 research part
1 part chains

Setup
Plugin configuration
In order to use the plugin, you must download, install and activate it like any Jeedom plugin.
After that you will have to create it, click on “Automatically scan” :

It may not work every time, you can try 2 or 3 times. If despite everything the roku is not detected, no problem you can add it manually with its IP address.
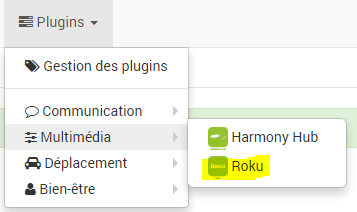
Go to the Plugins / Multimedia menu, you will find the Roku plugin :

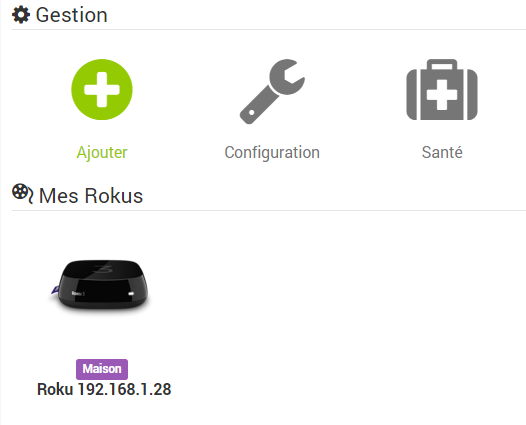
Then you will arrive on the page which will list your rokus

Click the Add button if you want to add a Roku manually
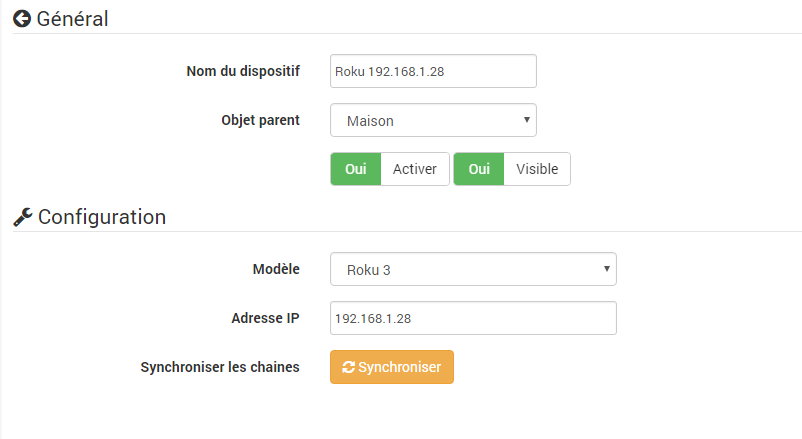
On this page you will find three sections :

Main
In this section you will find all jeedom configurations. Namely the name of your equipment, the object with which you want to associate it, the category, if you want the equipment to be active or not, and finally if you want it to be visible on the dashboard.
Configuration
This section is one of the most important, it allows you to choose the model and IP of your roku (in case auto-detection did not work)
The button “Synchronize the channels” allows once your equipment saved to launch a recovery of the channels available on your roku as well as their image. You can click on this button each time you have added or removed channels from your roku in order to synchronize the whole.
Commands
Here you will find the list of all available commands and channels
All these commands are available via scenarios and via the dashboard
The widget :


The widget is divided into three parts :
- A central part which is actually the remote control of your Roku
- A Channels section which allows you to have the icons of all channels (scrollable) and thus have direct access to your channels
- A search section allowing depending on the pages you are on (a few rare pages) to have direct access to the search and even to type your search with the keyboard
You can with the 3 buttons at the bottom choose the page to display. The page loading each time when you go to the dashboard being of course that of the remote control.